Expert TV unit and media wall carpentry across Dubai, Sharjah, Ajman, and all UAE. Since 1988, Karnak Carpentry has designed and installed thousands of custom entertainment units, from compact floating consoles in Dubai Marina apartments to full-height media walls in Arabian Ranches villas. Every unit is engineered to handle UAE heat and humidity while keeping your electronics ventilated, organized, and beautifully displayed.
Why Choose Karnak for TV Units and Media Walls in Dubai?
The television has become the visual centerpiece of nearly every living room, majlis, and family lounge across the UAE, yet most homeowners underestimate how much thought a well-built media unit actually requires. A TV unit is not simply a shelf to rest
a screen on. It is a piece of furniture that must manage heat generated by electronics, hide a tangle of cables, support the weight of increasingly large screens, and hold up against Dubai’s humidity swings, all while looking seamless in your interior design.
At Karnak Carpentry, we have spent over three decades refining how we build entertainment furniture for this exact climate. We know that a media wall built without proper ventilation gaps will trap heat behind a mounted TV and shorten the lifespan of
your electronics. We know that MDF without moisture sealing will swell near a balcony door left open during Dubai’s humid summer evenings. These are lessons learned across thousands of residential projects, and they shape every media wall we design.

Benefits of Our TV Unit and Media Wall Services:
- Custom sizing to fit your exact wall dimensions and screen size
- Built-in cable management so no wires are ever visible
- Ventilation-conscious design that protects electronics from heat buildup
- Moisture-resistant materials suited to Dubai’s climate
- Integrated lighting, shelving, and storage tailored to your lifestyle
- Seamless integration with existing living room or majlis furniture
- Transparent, itemized pricing with free 3D visualization before fabrication
Why Media Wall Design Is Different From Ordinary Carpentry
Many homeowners assume a media wall is a simpler project than a full kitchen or wardrobe build, but in practice it involves a unique set of engineering considerations that ordinary cabinetry does not.
First, there is heat.
Modern televisions, soundbars, gaming consoles, streaming boxes, and routers all generate heat during use. When these components sit inside a closed cabinet without airflow, that heat has nowhere to go. Over time, trapped heat can cause electronics to throttle performance, shorten component lifespan, or in worst cases, trigger automatic shutdowns during extended use such as a long football match or movie night. Our designs always include discreet ventilation channels, whether through subtly perforated back panels, gapped shelving, or rear cutouts that stay hidden from the front view.
Second, there is cable management.
A media wall filled with visible cables running from the TV to a soundbar, gaming console, and streaming device instantly looks cluttered regardless of how expensive the furniture is. We build dedicated cable channels
within the unit structure itself, often running from a rear power outlet up through a hidden internal column directly behind the mounted screen, so from the front the entire wall appears clean and cordless.
Third, there is weight distribution.
Larger screens, now commonly 65 inches and above in UAE living rooms, require either a reinforced wall mount bracket integrated into the unit or a stable, weighted base if the design is floor standing. We calculate
load-bearing requirements during the design phase so your media wall safely supports your specific television model for years without sagging or shifting.
Our TV Unit and Media Wall Services
1. Floating TV Units
Wall-mounted floating consoles that create a clean, modern look by eliminating visible legs or a floor-standing base. Popular in Dubai Marina and Downtown apartments where floor space is limited, floating units are installed with concealed steel bracket
supports rated for the combined weight of the unit, the mounted television, and any additional AV equipment placed inside.
2. Full-Height Media Walls
Floor-to-ceiling wall units that transform an entire living room feature wall into a unified design statement. These often combine a central TV mounting area with surrounding shelving, closed storage cabinets, and sometimes an integrated fireplace or
decorative niche. Full-height media walls are especially popular among villa owners in Arabian Ranches, Jumeirah Golf Estates, and Al Barari who want a dramatic focal point in their main living area.
3. Floor-Standing Media Consoles
Traditional low-profile console units that sit directly on the floor beneath the television. These remain a popular choice for majlis areas and family lounges where a lower visual profile suits the room’s existing furniture arrangement. We build these
with reinforced internal shelving to support AV receivers, gaming consoles, and streaming boxes without sagging over time.
4. Media Units With Integrated Fireplace Surrounds
An increasingly requested feature among Dubai villa owners, particularly in cooler winter months. We design media walls with a built-in electric fireplace insert surrounded by custom wood paneling, positioned safely beneath or beside the television with
appropriate heat clearance built into the structural design.
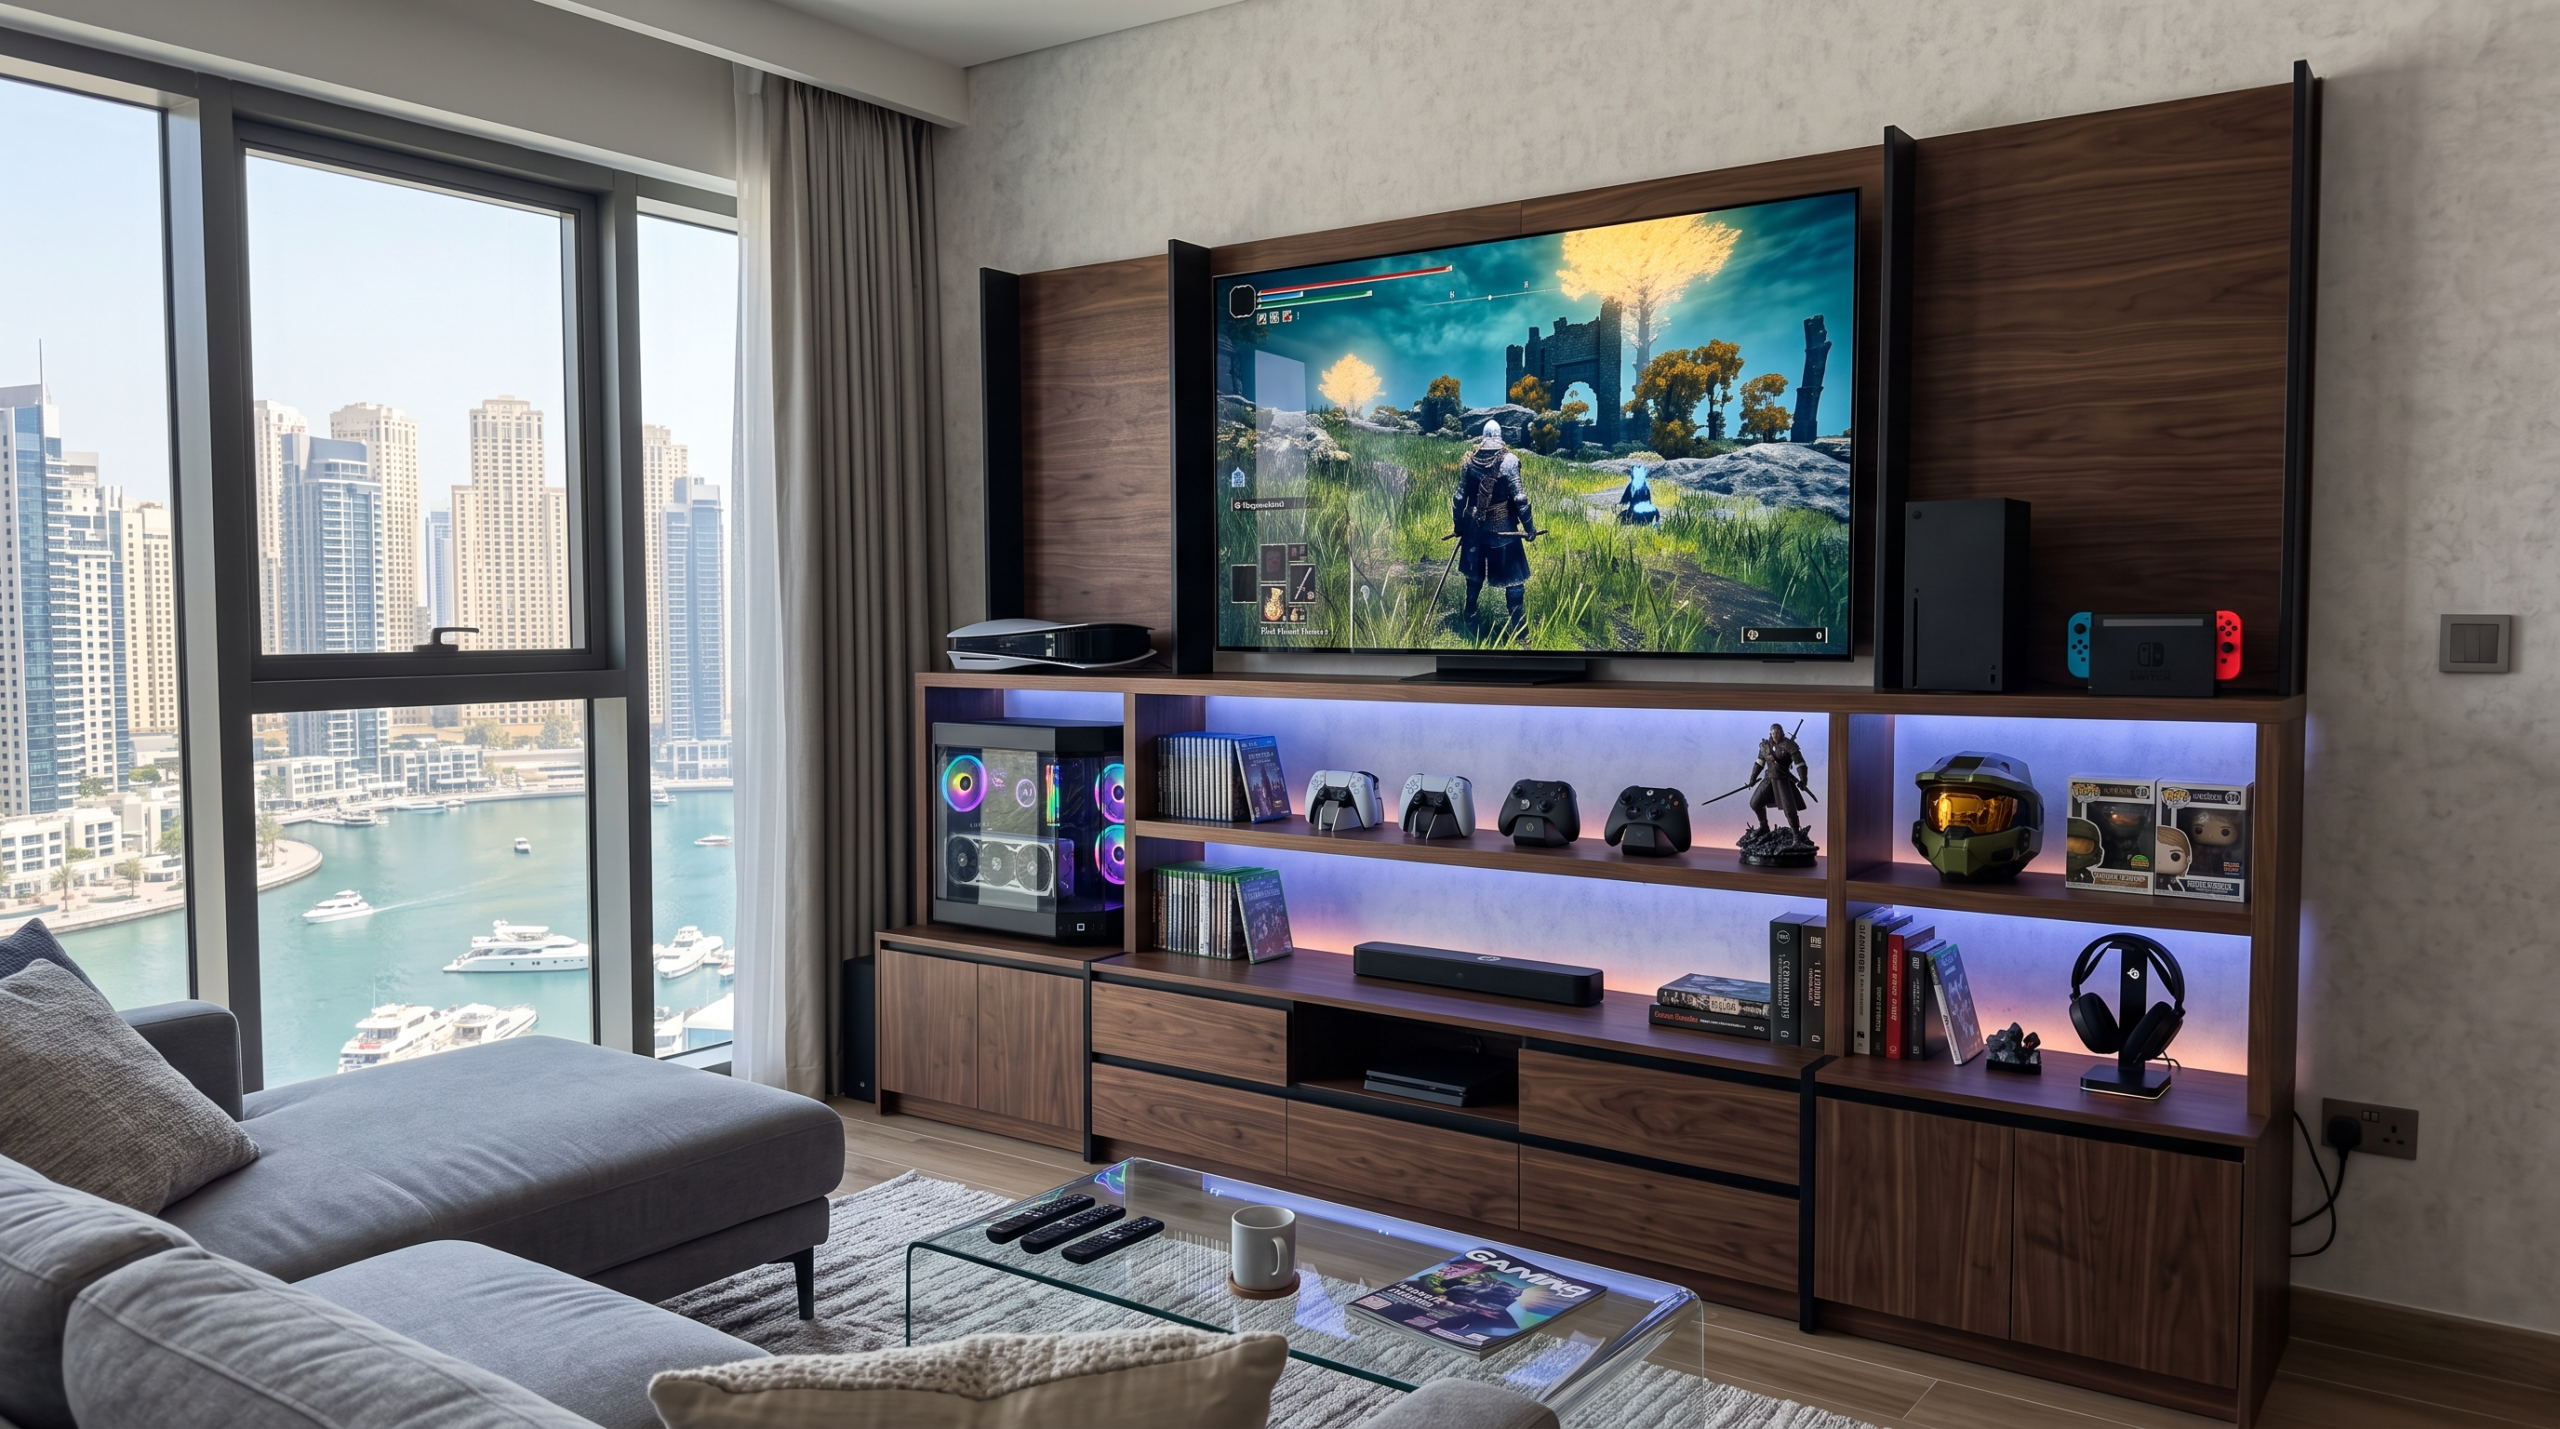
5. Gaming and Multi-Screen Media Units
Purpose-built for households with dedicated gaming setups, these units include additional shelving for consoles, controllers, and accessories, along with enhanced ventilation given the higher heat output of gaming hardware during extended sessions. Some
designs incorporate a secondary shelf for a curved monitor setup alongside the main television.
6. Kids Room and Family Lounge Media Units
Smaller scale, safety-conscious units designed for children’s playrooms or casual family lounges. These prioritize rounded edges, secure anti-tip anchoring to the wall, and childproof cabinet locks on any compartment holding electronics or cables.
7. Majlis-Style Media Walls
Designed to blend seamlessly with traditional Emirati seating arrangements, these media walls often incorporate warmer wood tones, subtle carved detailing, and lower shelving heights suited to floor-level majlis seating, so the television feels integrated
into the room rather than imposed on it.
8. Outdoor and Semi-Covered Terrace Media Units
For villa owners who entertain on covered terraces or majlis extensions, we offer weather-resistant media units built with treated, moisture-sealed materials suited to semi-outdoor exposure, always paired with weatherproof electronics housing recommendations.
Design Styles We Offer in Tv Units and Media Walls
Minimalist Modern
Clean lines, matte finishes, and hidden hardware define this style, which remains the most requested look among Dubai apartment owners. Floating units with a single accent color or natural wood grain finish dominate this category.
Warm Contemporary
A softer take on modern design using warm wood tones, textured panel detailing, and integrated ambient lighting strips that create a cozy atmosphere for evening use, particularly popular in Sharjah and Ajman family homes.
Luxury Statement Walls
Full-height designs incorporating premium materials such as book-matched veneer panels, brass or gold-toned hardware accents, and layered lighting design, favored in Downtown Dubai penthouses and Palm Jumeirah villas.
Transitional Majlis
A blend of contemporary functionality with traditional Emirati design cues, using carved wood detailing and warmer color palettes to suit majlis seating arrangements without feeling overly formal.
Materials We Use and Why They Matter for Media Furniture
Media units face a specific combination of stresses that differ slightly from wardrobes or kitchen cabinetry, since they must manage both heat from electronics and Dubai’s ambient humidity simultaneously.
Moisture-Resistant MDF:
Our standard choice for floating units and enclosed cabinet sections, sealed at every edge to prevent swelling near air conditioning vents or balcony doors.
Marine-Grade Plywood:
Used in load-bearing internal shelving where AV equipment weight is a concern, offering superior structural stability compared to standard plywood over years of use.
Veneer and Laminate Finishes:
Applied over engineered wood cores to achieve premium wood grain appearances at a lower cost than solid hardwood, while maintaining better dimensional stability in fluctuating humidity.
Heat-Resistant Backing Panels:
Installed directly behind mounted televisions and AV equipment shelves to prevent heat transfer into surrounding wood surfaces during extended use.
Solid Wood Accents:
Reserved for decorative trim, shelving edges, and statement pieces in luxury media walls, chosen for their visual warmth rather than structural load-bearing roles.
Ventilated Rear Panelling:
A perforated or slatted panel design used behind closed cabinet doors to allow passive airflow around AV equipment, reducing internal cabinet temperature during long viewing sessions.
Our Proven TV Unit and Media Wall Process
With over 35 years of experience, we follow a structured process specifically adapted for entertainment furniture, where electronics compatibility and cable routing require extra planning compared to standard cabinetry.
Step 1: Free Consultation and Room Assessment
Our experts visit your home to measure your wall space, review your television model and mounting requirements, and assess existing power outlet positions relevant to cable routing.
Step 2: 3D Design and Equipment Planning
We create detailed 3D renderings that account for your exact TV dimensions, soundbar placement, gaming console storage, and any additional AV equipment you plan to house within the unit.
Step 3: Transparent Quotation
Clear, itemized pricing covering materials, ventilation features, cable management systems, and installation, with no hidden costs added later.
Step 4: Precision Workshop Fabrication
Fabrication takes place in our 12,000 sq ft facility in Umm Al Quwain using CNC technology, ensuring precise cutouts for cable routing and consistent panel alignment across the entire unit.
Step 5: Professional Installation and Mounting
Our installation teams handle both the carpentry installation and the television mounting itself, ensuring the screen is securely fixed to the reinforced internal structure rather than relying on a standard wall bracket alone.
Step 6: Final Testing and Cable Verification
We test that all cable routing functions correctly, confirm ventilation gaps are unobstructed, and verify the television and any additional equipment sit securely before considering the project complete.
Step 7: Aftercare Support
Ongoing support for hardware adjustments, additional equipment integration, or design modifications as your entertainment setup evolves over time.
Typical Timeline: 5 to 14 days depending on unit size and design complexity.
Why Karnak Carpentry Stands Out for TV Units and Media Walls
- Electronics-Aware Design: We plan ventilation and cable routing around your actual devices, not generic assumptions
- UAE Climate Expertise: Moisture-sealed materials proven to withstand Dubai’s heat and humidity cycles
- In-House Workshop: Complete control over fabrication quality, unlike contractors who outsource cutting and assembly
- Combined Carpentry and Mounting Service: We handle both the furniture and secure television mounting in a single project, removing the need to coordinate separate contractors
- Permanent Skilled Team: The same craftsmen who design your unit also oversee its fabrication and installation
- Trusted Legacy: Since 1988, we have completed thousands of residential entertainment furniture projects across the Emirates
Areas We Serve in TV units and Media Walls
We install custom TV units and media walls throughout Dubai, Sharjah, and Ajman, including:
- Dubai Marina and JBR: Space-efficient floating units suited to high-rise apartment living rooms
- Downtown Dubai: Luxury statement media walls for premium apartments and penthouses
- Jumeirah and Umm Suqeim: Majlis-style and transitional media wall designs for villas
- Arabian Ranches and Jumeirah Golf Estates: Full-height media walls with integrated fireplace surrounds
- Palm Jumeirah: Premium finishes with coastal-grade material considerations
- Al Barari and Emirates Hills: Bespoke luxury media wall installations
- Sharjah residential communities: Family-focused entertainment units at accessible price points
- Ajman neighborhoods: Reliable installation with the same craftsmanship standards as our Dubai projects
TV Unit and Media Wall Pricing Guide (Dubai 2026)
Pricing depends on size, design complexity, materials, and additional features:
- Compact Floating TV Unit (up to 1.8 meters): AED 2,200 to AED 4,500
- Standard Floating TV Unit (1.8 to 2.5 meters): AED 4,500 to AED 7,500
- Large Floating or Floor-Standing Unit (2.5 meters+): AED 7,500 to AED 12,000
- Full-Height Media Wall (per linear meter): AED 3,500 to AED 6,500
- Media Wall With Integrated Fireplace Surround: AED 15,000 to AED 35,000
- Gaming Media Unit With Extended Storage: AED 5,500 to AED 10,000
- Majlis-Style Media Wall (per linear meter): AED 3,000 to AED 5,500
- Television Mounting Service (standalone, with existing unit): AED 400 to AED 900
We provide free detailed quotations with 3D visuals before any fabrication begins. Ask about bundled pricing when combining a media wall with other living room carpentry, such as bookshelves or built-in seating.
What Affects Your Final Price
Screen Size and Weight:
Larger televisions require reinforced mounting structures, which adds to material and labor costs.
Material Grade:
Solid wood accents and premium veneers cost more than standard moisture-resistant MDF but offer a longer lifespan and richer appearance.
Integrated Features:
Fireplace surrounds, ambient lighting strips, and extensive cable routing all add design and fabrication time.
Wall Height and Width:
Full-height media walls naturally cost more per linear meter than compact floating units due to the volume of material and structural support required.
Installation Complexity:
High-rise apartments with limited access or unusual wall configurations may require additional installation planning time.
Custom Media Walls vs Ready-Made TV Stands: A Cost Comparison
Ready-made TV stands and media consoles
They are widely available and often appear to be the cheaper option at first glance. However, this comparison rarely accounts for the practical shortcomings that emerge once the unit is actually in use in a UAE home.
Standard ready-made units
These are manufactured to generic dimensions that rarely match your exact wall space, television size, or existing furniture layout, often leaving awkward gaps or requiring the unit to be smaller or larger than what would actually suit the room. They also typically lack proper ventilation design, since mass-produced furniture is built for a global market rather than accounting for Gulf climate heat buildup behind enclosed electronics compartments.
Cable management
In ready-made units is usually an afterthought, with a single rear cutout rather than a dedicated internal routing system, leaving visible cable clutter regardless of how the unit is styled. Structural support for larger, heavier screens is also frequently insufficient, with many ready-made floating units rated for weight limits well below what a 65 inch or larger television actually requires.
Custom-built media walls
Solve each of these issues directly, fitting your exact space, ventilating your specific equipment properly, hiding every cable, and safely supporting your actual television weight. For most Dubai households, the modest price difference between a ready-made unit and a custom build is offset within the first few years by avoided replacement costs, better electronics longevity, and a noticeably more polished final appearance.
Maintenance Tips for Your TV Unit or Media Wall
- Dust regularly with a soft, dry cloth, paying particular attention to ventilation gaps and slatted panels where dust accumulates
- Avoid placing drinks or moisture-prone items directly on wood surfaces near the unit
- Check cable routing periodically to ensure nothing has shifted or become pinched behind the television
- Keep ventilation gaps and rear panel openings clear of dust buildup to maintain proper airflow around electronics
- Avoid overloading open shelving beyond its designed weight capacity, particularly with heavy AV receivers or speaker systems
- Schedule a periodic professional check of wall mounting brackets, especially in homes with larger or newly upgraded television models
- Keep direct, prolonged sunlight off wood surfaces where possible, since UV exposure can fade finishes unevenly over time
- Tighten any visible hardware periodically, as UAE temperature swings can gradually loosen screws and fittings
Sustainability and Responsible Sourcing
Karnak Carpentry prioritizes suppliers who follow sustainable forestry practices for the wood used in our media units and media walls. Offcuts from larger media wall projects are frequently repurposed into smaller decorative shelving or trim pieces rather
than discarded, reducing overall workshop waste.
Our finishes are selected to minimize volatile organic compound emissions, supporting healthier indoor air quality in what is often the most heavily used room in a UAE home. We are happy to discuss eco-conscious material options during your free consultation
if sustainability is a priority for your household.
What Dubai Homeowners Say
Note: The following reflects general feedback themes we consistently hear from residential clients regarding media wall projects. Specific client testimonials with names and project photos can be added here once collected.
Homeowners across Dubai Marina, Arabian Ranches, and Sharjah consistently mention how much cleaner their living rooms feel once cable clutter is fully hidden, along with appreciation for how accurately our 3D previews matched the finished installation.
Frequently Asked Questions (FAQs)
Q1: How long does it take to build and install a custom TV unit or media wall?
Most projects are completed within 5 to 14 days, depending on the size of the unit and whether additional features such as fireplace surrounds or integrated lighting are included.
Q2: Will my TV overheat inside a closed media unit?
Not with proper design. We build ventilation gaps and, where needed, perforated rear panels into every enclosed media unit to allow heat to escape and protect your electronics from prolonged heat buildup.
Q3: Can you build a media wall around my existing TV size, or should I buy a new TV first?
We design around your current television and can also accommodate future upgrades by building slightly flexible mounting dimensions if you mention you may upgrade your screen size later.
Q4: Do you handle the TV mounting as part of the carpentry project?
Yes. Our installation teams mount the television securely to the reinforced internal structure as part of the overall project, so you do not need to coordinate a separate mounting service.
Q5: How do you hide all the cables?
We build dedicated internal cable channels during fabrication, routing cables from the rear power source up through a hidden column directly behind the television, so no wires are visible from the front.
Q6: What is the difference between a floating TV unit and a full media wall?
A floating TV unit is a compact wall-mounted console, ideal for smaller spaces, while a full media wall extends floor to ceiling and often includes additional shelving, storage, and sometimes a fireplace surround, suited to larger
living rooms.
Q7: Can a media wall include a fireplace?
Yes. We design media walls with integrated electric fireplace surrounds, built with appropriate heat clearance and safety spacing around the television and surrounding wood paneling.
Q8: Are custom media walls suitable for apartments with limited wall space?
Yes. We specialize in space-efficient floating unit designs specifically for Dubai Marina, Downtown, and other high-rise apartment living rooms where floor space is limited.
Q9: What materials do you recommend for media units in Dubai’s climate?
We recommend moisture-resistant MDF for enclosed sections, marine-grade plywood for load-bearing shelving, and heat-resistant backing panels behind mounted screens and AV equipment.
Q10: How much does a custom media wall cost compared to a ready-made TV stand?
Custom media walls typically start around AED 2,200 for compact floating units and scale up based on size and features, while offering better ventilation, cable management, and structural support for larger screens than most ready-made
alternatives.
Q11: Can you match my media wall design to my existing majlis or living room furniture?
Absolutely. We design media walls to complement your existing interior style, whether that means a majlis-inspired warmer wood tone or a minimalist contemporary finish.
Q12: Do you offer warranty coverage on TV units and media walls?
Yes, structural and hardware warranties are included on all residential media wall and TV unit projects, with specific terms outlined in your project quotation.
Ready to Transform Your Living Room?
Whether you need a compact floating TV unit for a Dubai Marina apartment or a full-height media wall with an integrated fireplace for your villa, Karnak Carpentry delivers entertainment furniture engineered to last in the UAE climate.
Book Your Free Consultation Today
Phone/WhatsApp:
Email: info@karnakcarpentry.com
Since 1988 • 50,000+ Projects • UAE’s Most Trusted Carpentry Nam