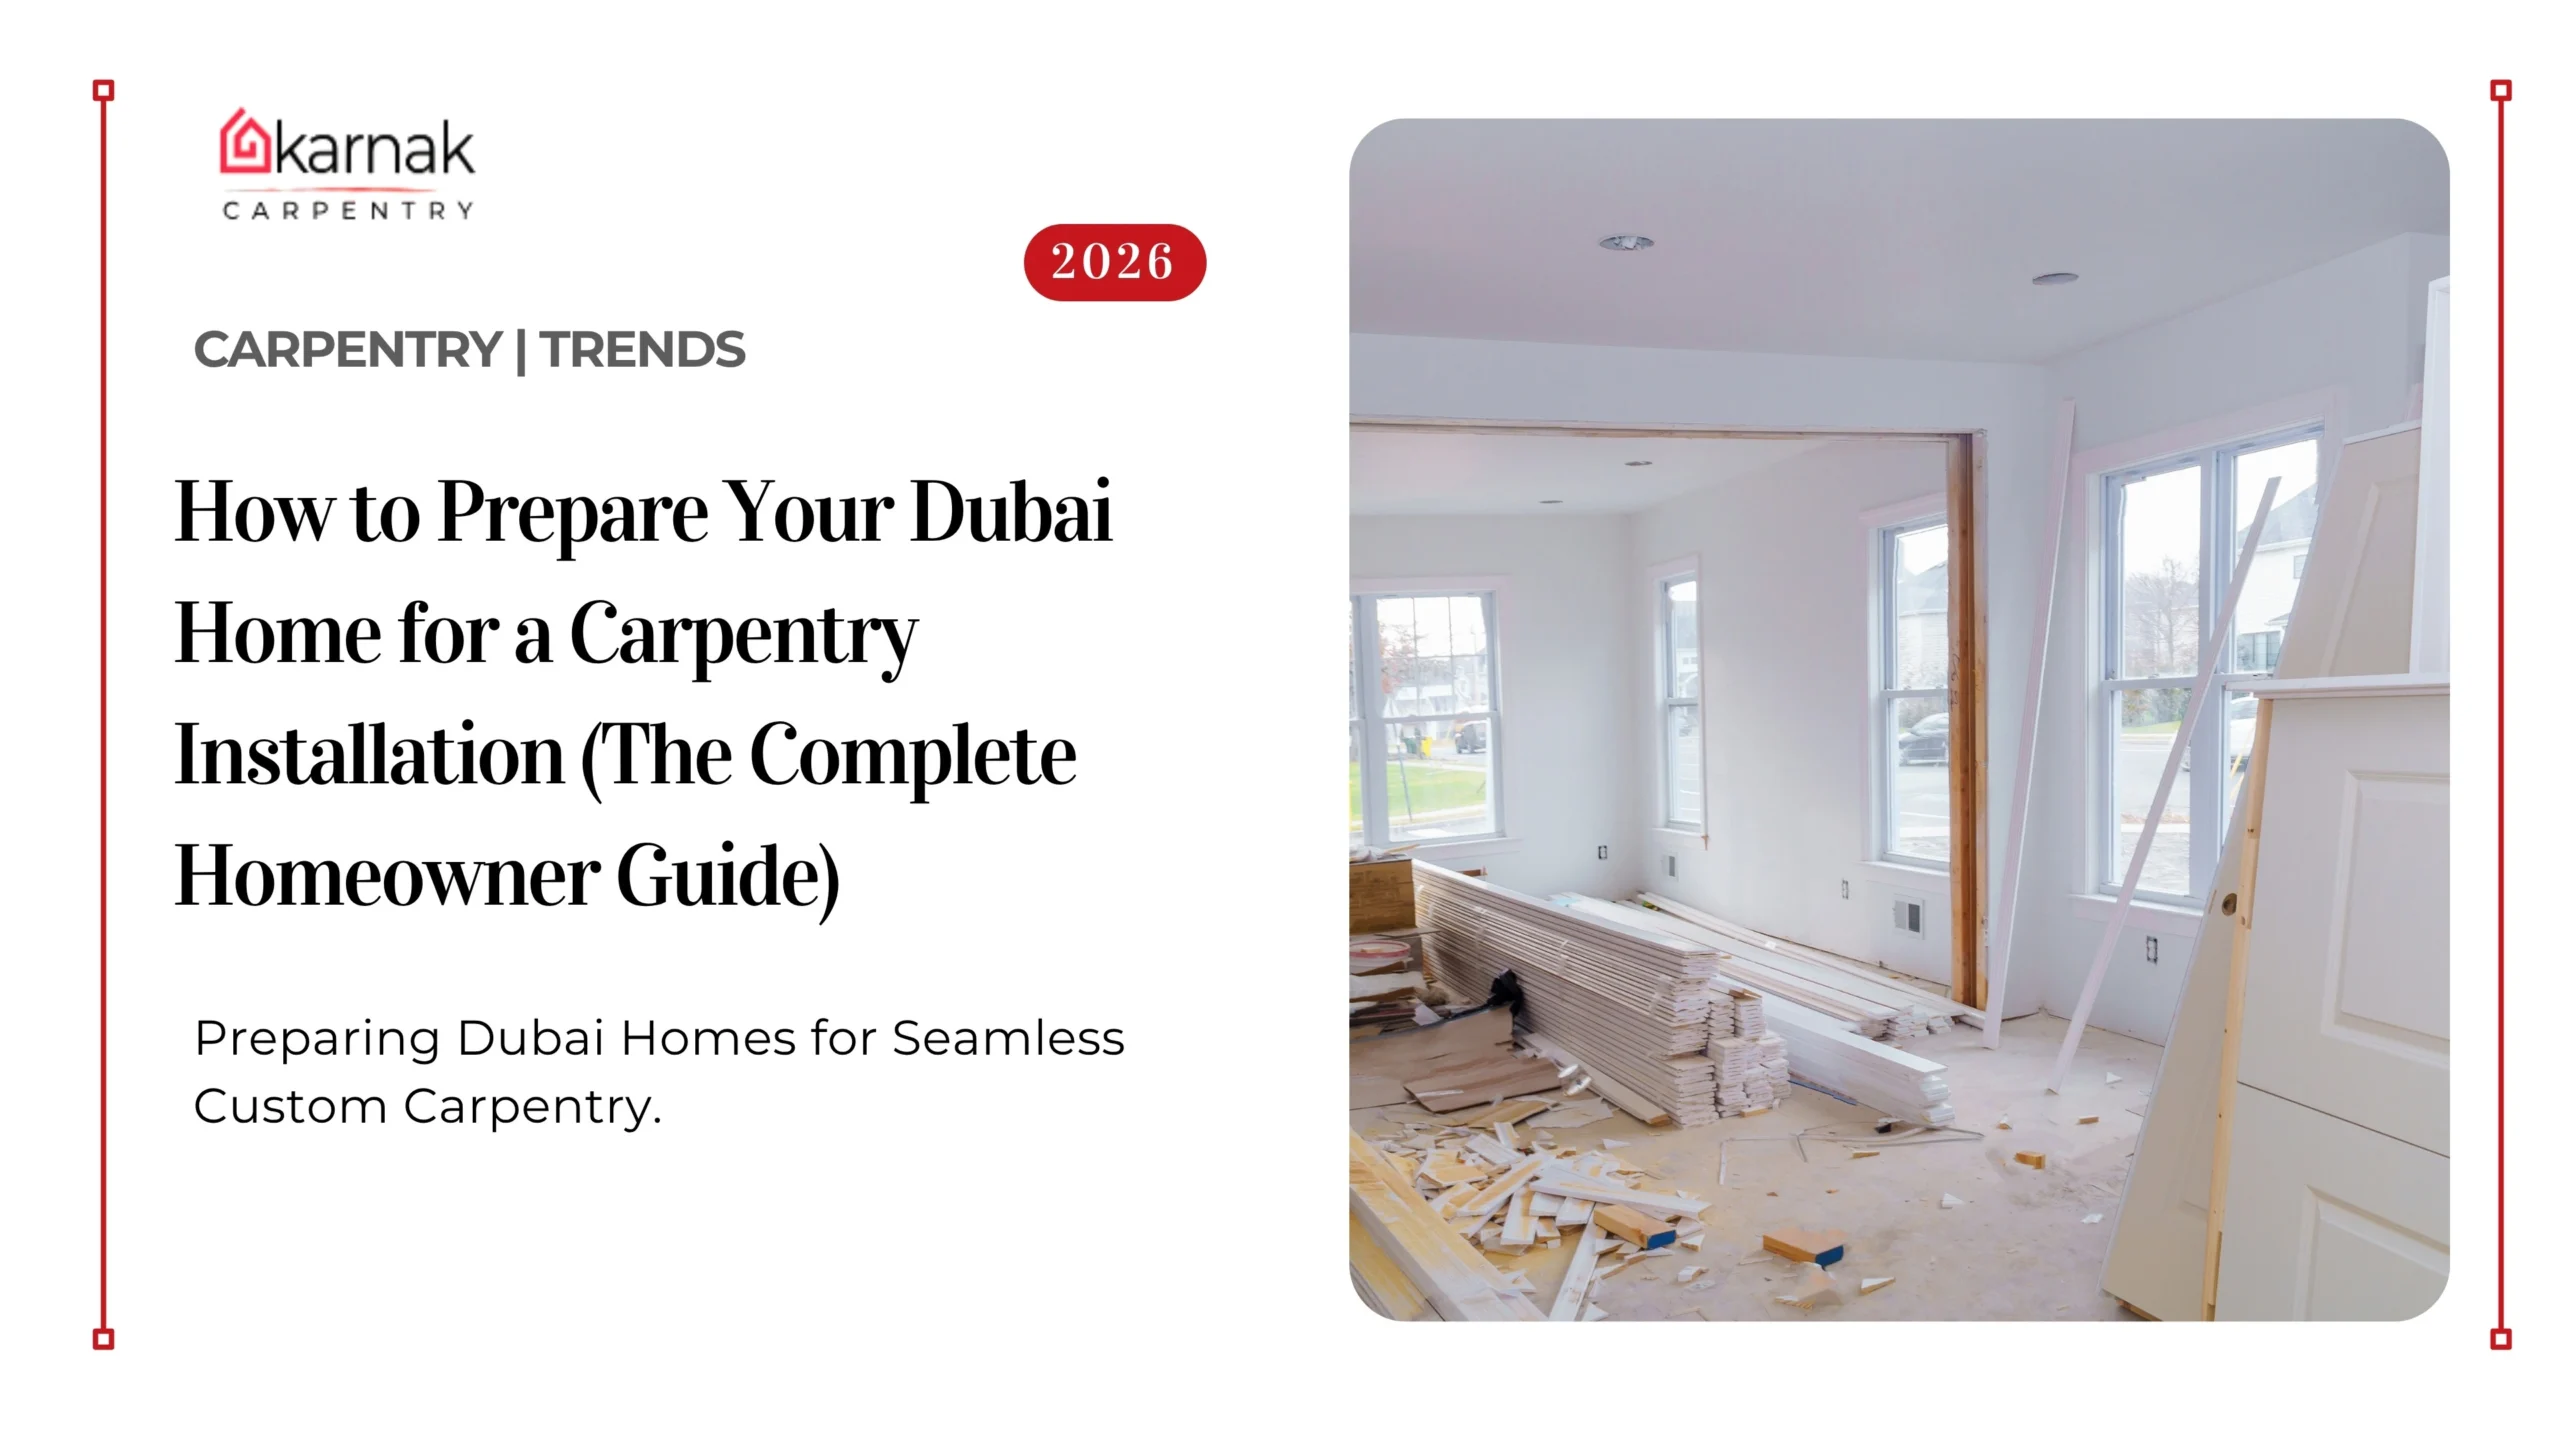
Most carpentry problems in Dubai do not start in the workshop. They start in the home, the week before installation.
After 35 years and more than 10,000 projects across the UAE, from a compact JBR studio to a nine-bedroom Emirates Hills mansion, our teams at Karnak have seen a consistent pattern. When a project runs smoothly, it is almost always because the homeowner prepared well. When it runs into delays, damage, or unexpected costs, we can usually trace the problem back to something that was overlooked before our carpenters ever arrived on site.
This guide gives you the exact preparation checklist we share with our own clients before every major installation. Read it once, work through it room by room, and you will save yourself stress, money, and the particular frustration of watching skilled craftsmen sit idle because a wall is wet or a utility line is unmarked. Proper preparation is one of the most important steps before any installation. Expats new to Dubai often find community support valuable the InterNationsUAE Expats platform offers great discussions on settling in and home setup
Dubai’s environment creates preparation challenges you simply do not face in London or New York. The humidity, the dust, the building age variations across different communities, the specific regulations some master-developers enforce, and the gap between summer and winter temperatures all create conditions that affect how carpentry should be prepared for, handled, and installed. We will cover all of it.
Understanding Why Preparation Matters More in the UAE
When a carpenter arrives unprepared to a site in Manchester, the worst case is usually a delayed start and some inconvenience. In Dubai, the stakes are different. The climate alone creates conditions that can ruin thousands of dirhams of custom joinery if preparation steps are skipped.
Wood, MDF, and engineered boards are living materials in the sense that they respond to moisture and temperature. When you move custom-built pieces from a climate-controlled workshop into a home that has been sealed up, with air conditioning off for days, sitting at 36 degrees Celsius and 80 percent humidity, the wood begins to move. Panels expand. Drawers swell. Mitred joints open. We have seen entire fitted wardrobes that needed re-fitting simply because the apartment was not cooled before delivery.
This is not a theoretical concern. In 2022, we completed a full villa joinery package in Arabian Ranches. Beautiful project, high-specification materials, everything fabricated to tolerance. The client had been on holiday and the villa had been closed for three weeks during August. The day we delivered, the ambient temperature inside was 41 degrees and the humidity measured 74 percent. We had to delay installation by four days while the air conditioning brought the environment down to acceptable levels. That delay cost the client additional labor time and pushed back their handover. Four days of preparation time at home could have prevented all of it.
The Dubai Climate Factor and What It Means for Your Joinery
Wood acclimatizes to its environment. That is a fundamental principle of carpentry that many homeowners are never told. When timber, MDF, or veneered board is brought from a controlled workshop environment into your home, it needs time to adjust to the ambient temperature and humidity before it is fixed in place.
In the UK, acclimatization typically takes 24 to 48 hours. In Dubai, particularly between May and October, we recommend a minimum of 48 to 72 hours for solid timber elements, and at least 24 hours even for MDF and engineered boards. During this period, your home should be at its normal lived-in temperature, meaning your air conditioning should be running at the level it runs when you are home, not turned down to 28 degrees because you are trying to save on the electricity bill.
The target range for installation is an ambient temperature between 20 and 24 degrees Celsius and relative humidity below 55 percent. Most Dubai apartments and villas operate comfortably within this range when the AC is running normally. The problem comes when properties sit empty for extended periods, particularly in summer months.
If you are renovating an empty property, turn the air conditioning on a minimum of three days before installation begins. Not the morning of installation. Three days prior. This allows the walls, floor, and structure to stabilize as well as the air. Walls that have been absorbing summer heat for weeks contain residual moisture that continues to affect the environment even after the air temperature drops.
New Build vs. Older Property Considerations in Dubai
Dubai has an enormous range of property ages and construction standards, and where you live matters significantly for carpentry preparation.
Properties completed after 2015 in master-planned communities like Dubai Hills, Emaar South, or Sobha Hartland generally have consistent wall compositions, accurate structural drawings, and utilities that are positioned where the plans say they are. Preparation in these homes is more straightforward.
Older properties, particularly those built in the early 2000s in areas like Deira, Bur Dubai, Jumeirah 1 and 2, and parts of Mirdif, often present surprises. We have found electrical conduits embedded where they should not be, structural columns that do not appear on owner drawings, and wall thicknesses that vary by up to 40mm within the same room. In a villa we fitted in Umm Suqeim in 2019, we opened the wall to find a drainage pipe routed horizontally through a position that three separate drawings told us was clear. The preparation for that project had not included a physical scan of the wall, which would have caught it in advance.
If your property was built before 2010, always arrange a professional utility scan before any fixed joinery goes in. The cost is typically between AED 500 and AED 1,200 depending on the area to be scanned. It is always worth it.
The Room-by-Room Preparation Checklist
Preparing a home for carpentry is not a single task. It is a sequence of tasks across different spaces, each with its own specific requirements. Work through this by room.
To Bedrooms and Fitted Wardrobe Spaces preparation as following:
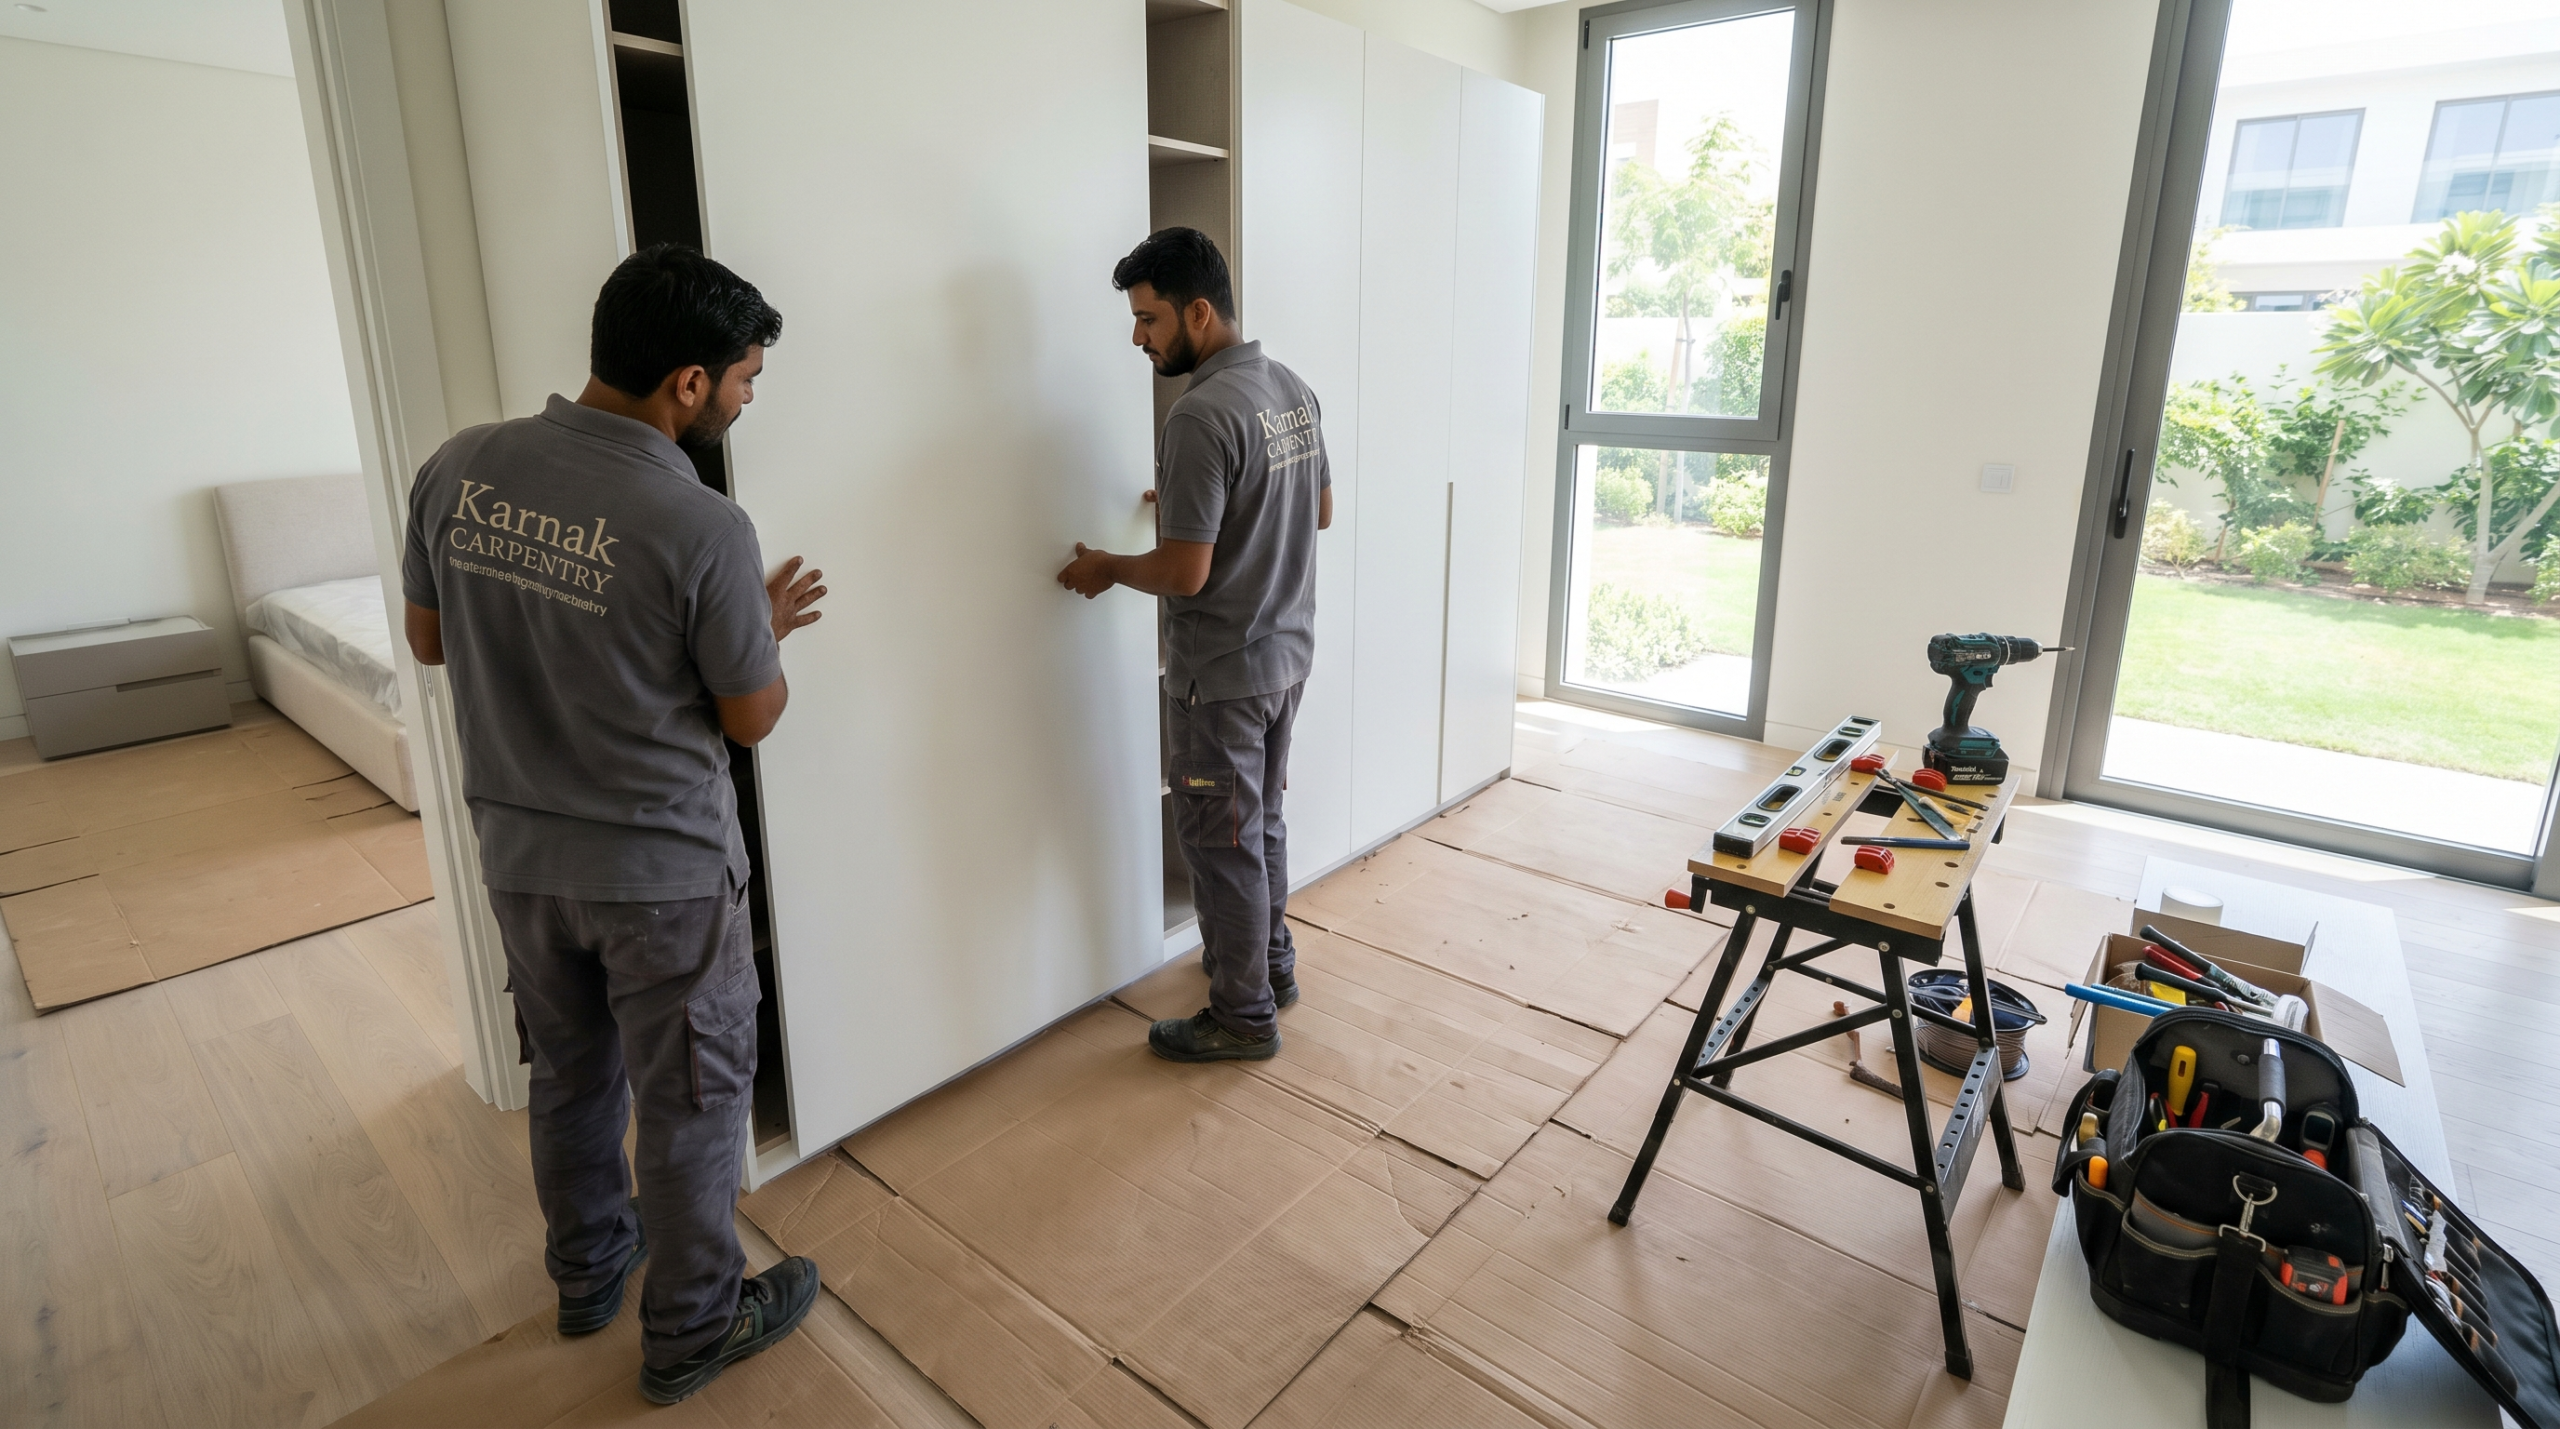
Bedrooms are where the majority of fitted joinery is installed in Dubai homes. Wardrobes, headboard panels, bedside storage units, and dressing room fit-outs all live here. Preparation in bedrooms requires more than just moving the bed.
Clear the entire room
Not just the wall where the wardrobe will go. Dust and debris travel. If our carpenters are cutting panels or drilling fixings into walls, the fine particles will reach every surface in the room. Covering furniture with plastic sheeting and leaving it in place is acceptable for smaller items, but anything you genuinely want to protect should be moved to another room entirely.
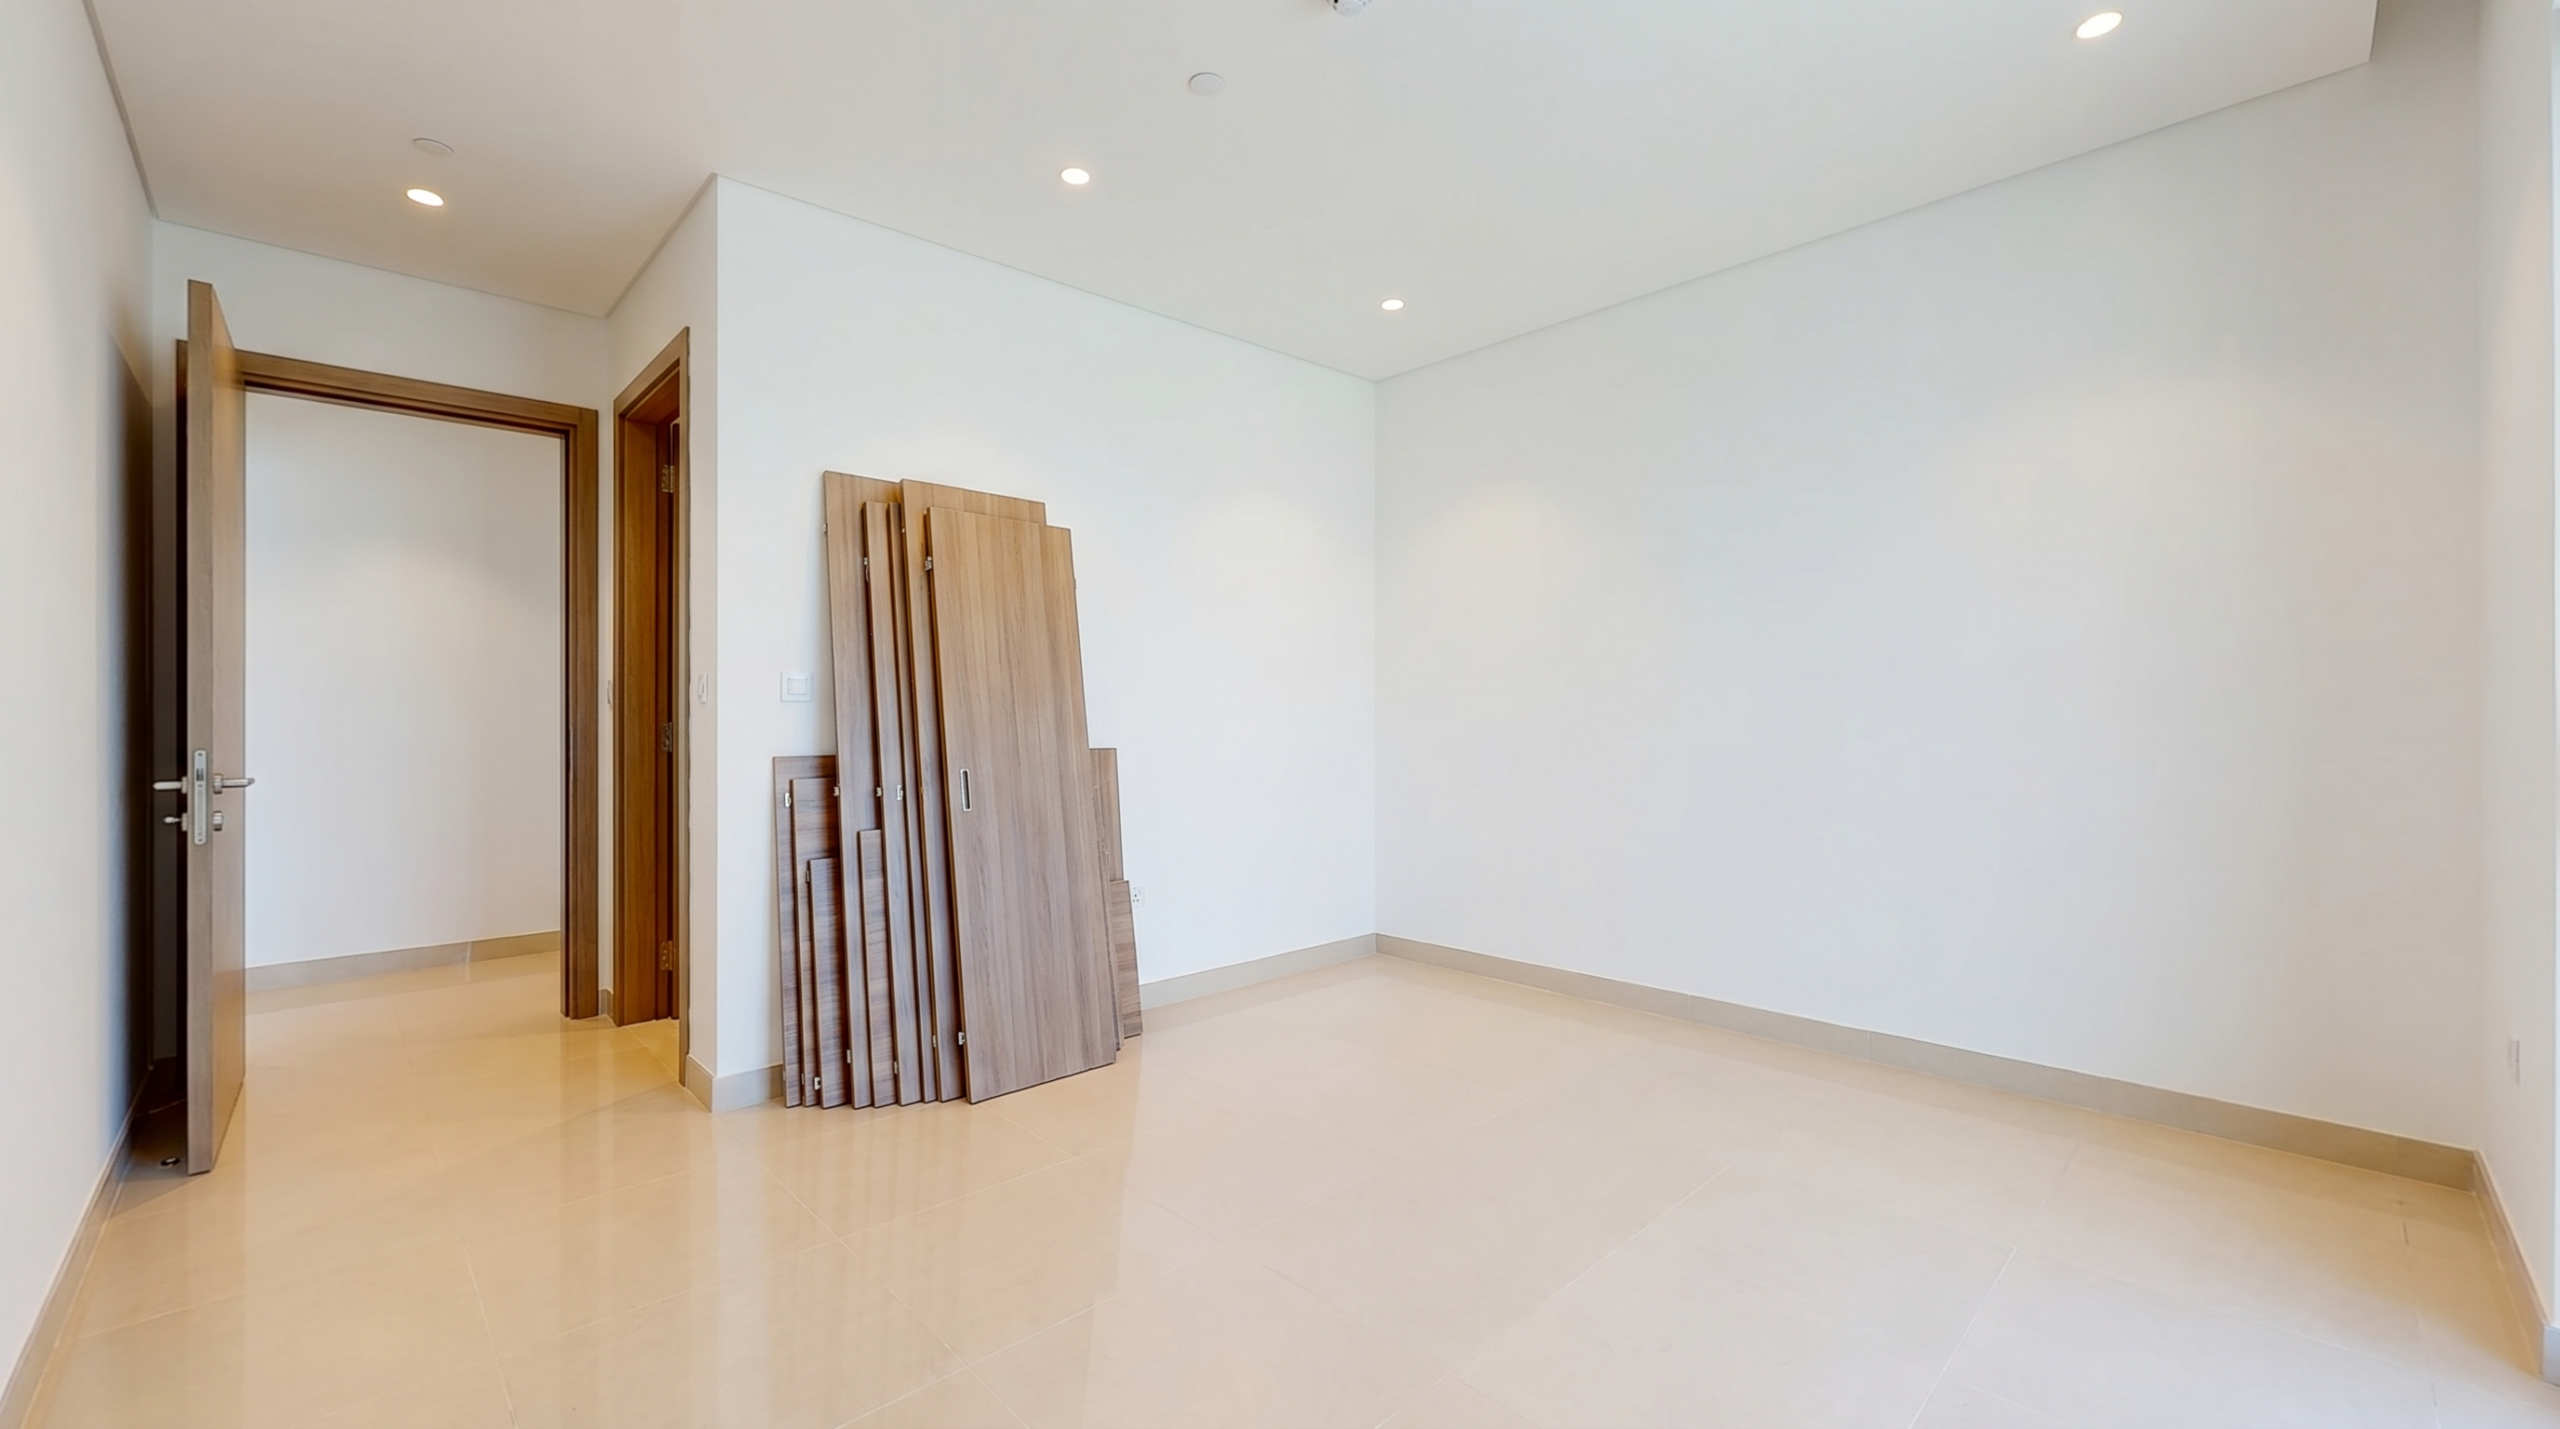
Remove all existing wardrobes
Before our arrival, not during. We receive requests regularly to remove old wardrobes as part of the carpentry visit. This is possible, but it adds time to the project that you are paying for at skilled tradesman rates. A labourer can remove a standard four-door sliding wardrobe in under two hours for between AED 100 and AED 200. Having it done before we arrive means we spend every minute of our time on the actual installation.
Check the wall behind
Where the wardrobe will go. Press your palm flat against it and feel for any dampness. In older buildings, particularly ground-floor apartments and villas with flat roofs, moisture ingress through external walls is not uncommon. We have installed wardrobes in Dubai Marina apartments where the back wall tested at 19 percent moisture content. The acceptable level for joinery installation is below 12 percent. Wood installed against a damp wall will begin to show problems within six to twelve months: warping, swelling, discoloration at the back panel, and in severe cases, mold growth behind the unit that goes unnoticed until significant damage has occurred.
If you suspect wall dampness, have a building maintenance company assess and treat it before scheduling joinery. A basic damp assessment costs AED 300 to AED 600. Remediation varies widely depending on the cause and extent.
Living Rooms, Entertainment Units, and Feature Walls
Living room carpentry installations include TV units, built-in shelving, entertainment walls, and increasingly in Dubai, full decorative panel walls using fluted MDF, veneer, or lacquered finishes.
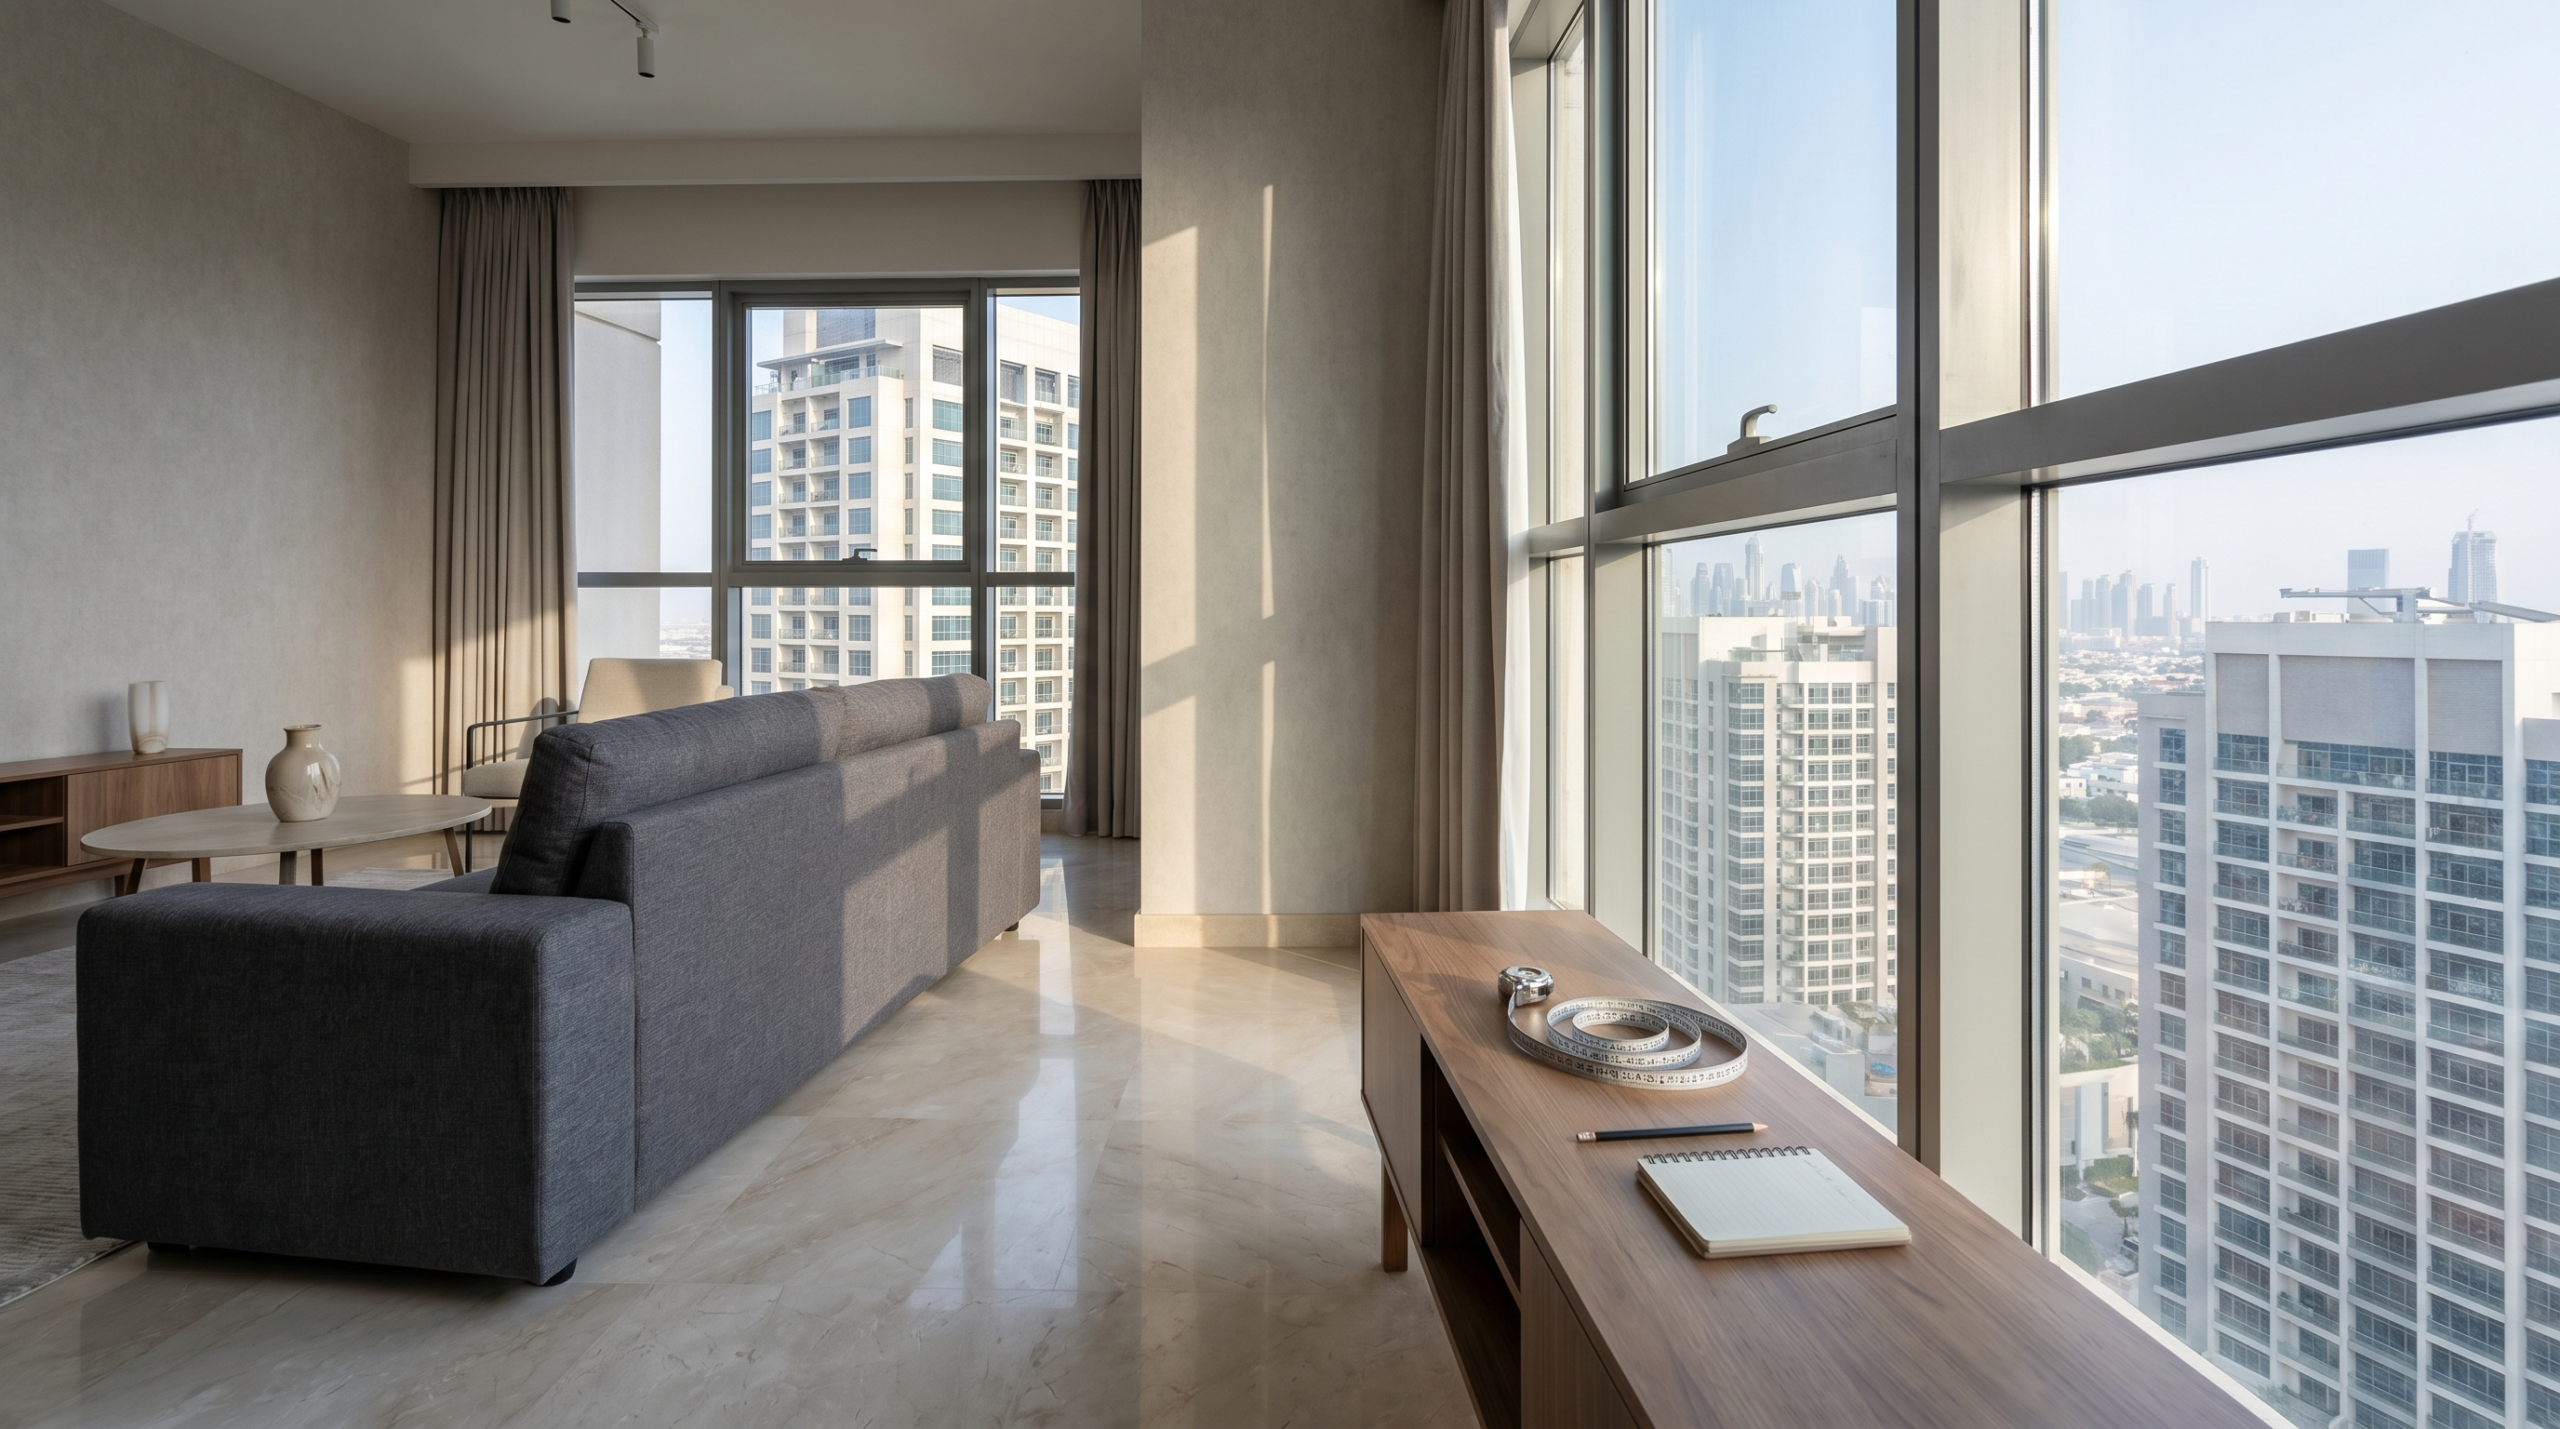
The most critical preparation step for living rooms is utility confirmation. Before any fixed shelving or paneling goes in, you need to know exactly where your electrical sockets, data ports, TV aerial points, and HVAC vents are positioned. Not approximately. Exactly. Measure from the floor and from a fixed reference point like the corner of the room.
In newer Dubai apartments, the socket positions are often on the skirting line or at table height. In villas, they may be at various heights depending on when the property was built and whether previous fit-outs moved them. Create a simple hand-drawn sketch showing every socket, switch, and vent on the walls where carpentry will be installed. This sketch takes fifteen minutes and can save an entire day of rework.
Speaker cables, HDMI runs, and power extensions that need to be concealed inside joinery must be installed before the carpentry goes in. We cannot run cables inside a built unit after the fact without dismantling it. If you are planning to have flush-mounted sockets inside a TV unit, or want a cable management channel hidden inside a shelving run, your electrician needs to rough-in those cables before our installation date. Coordinate this sequence explicitly. Do not assume it will be obvious to the electrician or to us without a conversation.
Remove all art and mirrors from the relevant walls. Drilling and impact from adjacent fixings can crack tiles, loosen plaster, and vibrate frames off hooks. Take them down, wrap them, and store them safely before any work begins.
Kitchens and Utility Rooms
Kitchen carpentry installations, particularly full kitchen fit-outs, are among the most complex in terms of preparation because they intersect with plumbing, electrical, and tiling trades.
If you are installing a new kitchen, the preparation sequence matters enormously. Tiling should always be completed before kitchen installation, not after. We have been called to install kitchens where the client planned to tile around the cabinets afterward to save time. This always creates problems. Tiles go up to the cabinet line and then have an untiled strip beneath where the plinth sits. When the kitchen is eventually moved, repaired, or modified, that untiled section becomes a problem. Tile first. Always.
The same logic applies to flooring. In Dubai homes, kitchen flooring should be fully laid before base cabinet installation. Cabinets sit on top of the finished floor, which makes future servicing and replacement far simpler. Floating floors in particular need to be fully laid and settled before heavy cabinets go on top.
Water supply points and drainage for dishwashers, sinks, and washing machines should be in their final positions before we arrive. Roughed-in, capped, and confirmed. Positions matter because they determine cabinet configurations. A dishwasher drainage point that is 100mm from where we expect it can mean a cabinet needs to be re-drilled or a unit resized. Confirm exact positions with your plumber and share them with us in advance.
Gas appliances require additional preparation. If you are installing a gas hob, your DEWA-approved plumber must run and pressure-test the gas line before any cabinets go in around it. We cannot install around an unconfirmed gas line, and we will not. This is not bureaucracy. It is safety.
Home Offices and Study Rooms
Home office carpentry has grown significantly in Dubai since 2020, and these spaces present specific preparation needs tied to the technology infrastructure within them.
Data cabling is the primary concern. If you want Ethernet ports embedded in your desk or cabinetry, those cables must be run and terminated before installation. Wi-Fi sufficiency for most users means this is less critical than it used to be, but anyone doing video production, financial trading, or managing a business from home should have their network infrastructure confirmed before the joinery goes in.
Power requirements in home offices are often underestimated. A single double socket on the desk may have seemed sufficient in 2010. Today, a working professional might need power for two monitors, a desktop, a laptop, a printer, a charging pad, and a task lamp, with enough residual capacity to avoid constantly using extension cables. Discuss your actual power needs with an electrician before the joinery design is finalized. The cost of adding sockets at the design stage is minimal. The cost of retrofitting them into finished cabinetry is significant.
Access, Parking, and Building Logistics in Dubai
This is the section most homeowners never think about until the morning of installation, when our delivery truck cannot get within 200 meters of the building.

Confirming Building Access Before Installation Day as following:
Every residential building in Dubai with a facility management company has its own rules about deliveries, contractor access, and working hours. These rules vary enormously and are not always easy to find unless you specifically ask.
Contact your building management office at least five working days before your installation date
Ask specifically about three things. First, what are the permitted working hours for contractor activity? Many residential towers in JBR, Dubai Marina, and Downtown allow contractor work only between 8am and 5pm on weekdays, with restricted or no access on Fridays and public holidays. Some buildings in Business Bay extend this to 7pm. A few allow Saturday morning work. Know your window before you book your installation date.
Second, is there a passenger lift or service lift policy for furniture delivery?
Most mid to high-rise buildings require furniture to be transported via the service lift, not the passenger lift. Service lifts in some older buildings have surprisingly small dimensions. A standard two-meter wardrobe panel fits comfortably in most service lifts, but L-shaped desk sections and longer panels may need to be angled in or, in rare cases, taken up stairwells. Confirm the lift dimensions with your building manager and share them with us before delivery.
Third, is there a contractor registration or NOC requirement?
Many master-developer communities including those managed by Emaar, Nakheel, DAMAC, and Meraas require contractors to submit a No Objection Certificate or register with the facilities management company before working in the building. This process typically takes two to three working days. If you book a project without confirming this requirement, we may arrive on installation day and be turned away by security.
We have been turned away from buildings in Palm Jumeirah, Downtown Dubai, and Dubai Marina because the client was unaware of NOC requirements. It is not a frequent occurrence, but when it happens, the entire project shifts by a week or more while paperwork is processed. A five-minute phone call to your building management office prevents this completely.
Parking and Loading Zone Reality in Dubai
Parking for a carpentry delivery vehicle in central Dubai is not straightforward. Our delivery vehicles range from a standard long-wheelbase van to a seven-tonne flatbed truck depending on the project size. Both require either a proper loading bay or sufficient street access.
In villa communities like Jumeirah Golf Estates, Arabian Ranches, and Al Barari, this is rarely an issue. There is generally space to manoeuvre and unload without difficulty. In high-density tower communities, it can be genuinely challenging.
If your building does not have a designated loading bay, identify in advance where a large vehicle can stop temporarily for unloading. Some buildings allow double-parking in service roads for short unloading periods. Others do not. Your building management team will know the answer. Share that information with our site coordinator when you confirm your installation date.
In communities with security checkpoints like Emirates Hills, Meadows, and Springs, you will need to register the vehicle details and our team’s IDs with the gate office in advance. Security will not allow an unregistered vehicle to enter regardless of what documentation is presented on the day.
Common Mistakes Dubai Homeowners Make Before Carpentry Installation
In 35 years of installations across the UAE, the same preparation mistakes appear again and again. These are not criticism of homeowners. They are genuinely not obvious unless someone has told you. We are telling you now.
Mistake 1: Booking Installation Before the Walls Are Ready
This is the single most common mistake, and it has two main forms. The first is booking installation into a freshly plastered or recently painted space. New plaster in Dubai needs a minimum of 28 days to cure fully. New emulsion paint over fresh plaster needs at least 14 days before joinery is fixed against it. When we fix to walls that are still curing, the expansion and contraction of the setting material can cause fixings to loosen over time. We have returned to projects six months later to find doors that no longer close properly because the walls moved after installation.
The second form is booking installation before tiling or flooring is completed. We have addressed this in the kitchen section, but it applies to every room. Floor finishes affect the height datum from which all joinery is measured and installed. If the floor goes in after the joinery, the final heights will be wrong. Always.
Mistake 2: Not Telling Us About Recent Water Damage or Leaks
Dubai buildings experience water damage more often than most residents realize. Pipe bursts in the unit above, air conditioning condensate leaks, and roof drainage failures are all relatively common, particularly in buildings more than ten years old.
Homeowners sometimes feel that since the leak was repaired months ago, it is not relevant to mention. It is extremely relevant. A water event that was addressed at the surface may have left elevated moisture within wall cavities, floor substrates, or structural elements. We have encountered this situation in Jumeirah Lake Towers apartments where a client had a burst pipe eighteen months prior. The plumber had fixed the pipe and replastered the wall. When we measured moisture content before installation, the wall still read at 16 percent, well above the safe threshold for joinery. The client had no idea.
If your home has had any water damage in the past three years, tell us before we assess the site. It allows us to check the right areas rather than discovering a problem mid-installation.
Mistake 3: Expecting Installation in a Lived-In Room Without Clearing It
We understand that moving furniture is disruptive, especially in a home with children or elderly family members. However, installing joinery in a room that is still in use is not just inconvenient. It creates real risk of damage to your belongings and genuinely slows installation to the point where a one-day job becomes two or three days.
Sawdust, drilling debris, and finish materials affect everything in a room. Even with dust sheets and careful working practices, fine particles travel. Electronics are particularly vulnerable. Any television, speaker system, or computer equipment in a room where carpentry work is happening should be moved, not just covered.
The other issue is simple access. Our carpenters need to move freely around the installation space, position panels, run levels, and step back to check alignment. A room crowded with furniture means they are constantly navigating obstacles. This is not just slower. It is physically more difficult, and physical difficulty in carpentry leads to small errors in alignment and fit that are frustrating for everyone.
Mistake 4: Assuming Measurements Do Not Need Re-Confirming
You measured your space. We measured your space during the site survey. You received drawings. Everything was confirmed. And then three weeks passed.
In that time, it is entirely possible that a tiler adjusted a column by 15mm to accommodate a lippage issue. That the plumber added a pipe box in the corner that was not there during survey. That the ceiling coving was installed slightly lower than the drawing showed. That a door frame was repositioned by 10mm to correct an alignment problem.
Before any installation, walk the space yourself and check whether anything has changed since the design was finalized. Look specifically at the dimensions that matter for joinery fit: floor to ceiling height, wall to wall width, and the position of any fixed elements like pipes, vents, or beams that the joinery works around. If you notice any change, however small it seems, contact us before installation day. A 15mm discrepancy discovered during a site survey is a three-minute conversation. The same discrepancy discovered when a panel is mid-installation is a significant problem.
Mistake 5: Scheduling Multiple Trades on the Same Day
Installation day is not a good day to also have your electrician rewiring, your AC technician servicing the units, or your painter touching up walls. Every trade operating simultaneously creates interference that slows all of them down and increases the chance of accidental damage.
Carpentry installation requires focused, uninterrupted work. Power tools are in use. Panels are being moved through corridors. Wall fixings are being drilled. None of this is compatible with another trade trying to work in the same or adjacent space.
Give us the day. Coordinate other trades for the day before or the day after, depending on what the sequence requires. If you are unsure of the correct sequence, ask us. Coordinating trade sequences is something we do on every major project and we are happy to advise.
Mistake 6: Not Protecting Finished Flooring Before We Arrive
If you have marble, hardwood, or large-format porcelain tile flooring, protect it before our carpenters arrive, not after. Asking our team to lay down protection on arrival adds time. More importantly, the act of unloading and staging panels before protection goes down creates risk.
Heavy panels rested temporarily on unprotected marble will leave marks. Trolley wheels on unprotected hardwood flooring will leave tracks. This is not because our team is careless. It is because the sequence of moving heavy panels through a space before protection is laid simply creates the opportunity for damage.
Buy a roll of corrugated cardboard floor protection or thick foam floor sheeting from any hardware supplier in Al Quoz. Cover the floors in the corridors and rooms our team will be working through. The cost is AED 80 to AED 150 for a standard apartment. The potential cost of replacing a section of damaged marble is an order of magnitude higher.
Typical Timelines and What Affects Them
Understanding how long preparation and installation realistically take in Dubai helps you plan around your life and around other project sequences.
Preparation Timeline: What to Do and When
Four to six weeks before installation, confirm the project scope is finalized and drawings are approved. Any changes made after this point may affect lead times and costs.
Three weeks before, confirm your building NOC or contractor registration requirements and submit the necessary paperwork. Confirm installation date and working hours with building management.
Two weeks before, schedule any pre-works needed before carpentry. This includes plastering repairs, damp treatment, utility cable runs by the electrician, and any tiling that needs to precede the joinery.
One week before, begin clearing rooms. Do not leave this to the day before installation. Moving furniture, removing existing built-ins, and storing items properly takes more time than most homeowners expect, particularly in fully furnished homes.
Three days before, turn on air conditioning in any space that has been unoccupied. Confirm vehicle details have been registered with gate security if required.
The day before, do a final walkthrough. Check floor protection materials are on hand. Confirm the installation team’s arrival time. Remove any remaining personal items from the work area.
Realistic Installation Durations for Common Projects
A standard three-door fitted wardrobe, simple interior fittings, with minimal site complications takes a skilled two-person team approximately six to eight hours. That is a full working day.
A fitted wardrobe with integrated dressing area, including a mirror, drawer units, and a glass display section, typically runs eight to twelve hours across one to two days.
A full kitchen fit-out in a standard two-bedroom Dubai apartment, including base units, wall units, and pantry, takes two to three days.
A complete villa master bedroom package including wardrobes, headboard panel, bedside units, and a dressing room fit-out typically takes three to five days depending on detail level and complexity.
These are realistic timelines when preparation has been done properly. Sites that are not cleared, have access complications, or present unexpected wall conditions add time consistently.
Costs to Know for Pre-Installation Work in Dubai (2026)
Getting your home ready for carpentry installation has its own cost elements separate from the joinery itself. Here is an honest summary of what to budget for.
Pre-installation utility scan
AED 500 to AED 1,200 depending on area scanned. Worth doing in any property built before 2010 or where previous renovations have moved utilities.
Damp assessment and treatment
AED 300 to AED 600 for assessment. Treatment costs vary enormously from AED 800 for a surface treatment to AED 5,000 or more for serious moisture ingress requiring structural intervention.
Electrician for socket and cable rough-in
AED 800 to AED 2,500 depending on number of circuits and complexity. Always use a DEWA-approved electrician for any work touching your electrical installation.
Removal of existing built-in furniture
AED 100 to AED 300 per unit for labor only, assuming standard residential joinery, no specialist trades required.
Floor protection materials
AED 80 to AED 200 for a standard apartment. AED 200 to AED 500 for a large villa project.
Building NOC administration fees
Varies by building management company. Some charge nothing. Some charge up to AED 500 per contractor visit. Confirm with your building management in advance.
Labor for pre-clearing and general cleaning
AED 150 to AED 300 per day for general labor. Budget for one to two days in a fully furnished space.
In total, a well-prepared medium-sized apartment project should budget AED 2,000 to AED 5,000 for preparation-related costs, depending on property age and condition. Villa projects scale accordingly.
Expert Tips From 35 Years of UAE Installations

These observations come from project experience across thousands of UAE homes. They do not appear in any manufacturer’s guide or online forum.
Run your AC for three days minimum, not three hours
The day of installation is too late. The structure of your home, not just the air, needs to reach equilibrium. Particularly in summer, walls that have been absorbing heat for weeks will continue releasing moisture into the room environment for days after the AC is switched on.
Natural light is your best quality-check tool
Before our team arrives, open every blind and curtain in the installation space during a morning visit to the property. Raking natural light reveals surface imperfections, paint texture issues, and wall irregularities that flat overhead lighting hides completely. If you spot anything that needs to be addressed, you still have time to do it.
Mark every socket, switch, and vent with a sticky note before the site survey, not just during installation
Our site surveyor works quickly. A sticky note on each electrical point ensures nothing is missed in the drawing, which prevents conflicts later.
Tell us about every renovation that has touched the space in the past five years
A previous fit-out, a tiling job, a replastering, even a paint job that required significant surface preparation. Each of these may have changed wall dimensions, substrate conditions, or utility positions from what original building drawings show.
Do not paint walls immediately before installation
Fresh paint on walls where joinery will be fixed needs at least 48 hours to cure fully. Paint that is still slightly soft will compress under fixing pressure, and the joinery may not sit perfectly flush against the surface. If walls have been painted in the past week, tell us.
Consider your morning access, not just the installation itself
In many Dubai tower buildings, the window between permitted contractor access time and your own daily schedule is narrow. If the building allows contractors from 8am and you have school runs or morning meetings, confirm who will be present to receive our team, give access, and handle any questions that arise in the first hour.
Take photographs of every wall before installation begins
This is your record of the pre-existing condition of the space. It protects you in any dispute about whether a crack, mark, or imperfection was present before work began. Takes five minutes. Always worth doing.
Confirm the snagging process before installation starts
Ask us, and ask any contractor, what the process is if you notice an issue after installation is complete. At Karnak, we have a structured snagging visit within seven days of completion. Knowing this process in advance means you can document observations methodically rather than calling in a panic two weeks later.
Conclusion: Preparation Is the Job
The best carpentry installation in Dubai begins two weeks before our carpenters arrive. When a home is properly prepared, the installation itself is focused craft work. When it is not, a significant portion of the day is spent solving problems that should have been solved in advance.
The preparation steps in this guide are not bureaucratic requirements. Each one exists because we have seen what happens when it is skipped. Rooms that were not cleared delay installations. Walls that are damp compromise joinery longevity. Buildings whose NOC processes were not confirmed turn installation days into frustrating half-days. None of these outcomes are inevitable. All of them are preventable.
If you work through the preparation sequence in this guide, your installation will run more smoothly, take less time, and produce a better result. That is not a sales line. That is thirty-five years of observation.
Key Takeaways:
- Run air conditioning for a minimum of three days before installation, not just on the day, especially in summer months or after extended vacancy
- Confirm building NOC and contractor registration requirements at least five working days in advance
- Complete all tiling, flooring, and electrical rough-in work before carpentry installation begins
- Test for wall moisture in any property built before 2010 or with a history of water damage
- Clear rooms completely, protect floors, and mark all utilities before the installation team arrives
- Avoid scheduling other trades on the same day as carpentry installation
Need Expert Help?
Karnak Carpentry has been preparing and executing complex joinery installations across Dubai and the wider UAE since 1988. If you are planning a fitted wardrobe, kitchen fit-out, home office, or full villa joinery package and want a team that will handle the preparation guidance as part of the consultation, not as an afterthought, contact us. Our pre-installation site assessment is thorough, our advice is honest, and our 10,000-plus completed projects across the Emirates speak to the standard we maintain. Reach out to discuss your project and we will walk you through exactly what preparation your specific home and project requires.
Contact:WhatsApp Us or Call Us at+971-52-5554207 | info@karnakcarpentry.com
Frequently Asked Questions About Preparing Your Dubai Home for a Carpentry Installation
How should I prepare my home before a carpentry installation?
Clear the installation area, remove fragile items, create a safe pathway for materials, and provide easy access to the workspace. Good preparation helps the installation team complete the project efficiently and safely.
Should I empty my wardrobe or kitchen cabinets before installation?
Yes. Remove clothing, kitchenware, decorations, and personal belongings before the installation team arrives. Empty storage spaces allow technicians to work faster and reduce the risk of accidental damage.
Do I need to move furniture before the carpenters arrive?
Move nearby furniture whenever possible to create enough working space. Larger items that cannot be relocated should receive protective covers to prevent dust or accidental scratches.
How can I protect my floors during installation?
Cover hardwood, marble, tile, or vinyl flooring with protective sheets, cardboard, or floor protection mats. Extra protection minimizes scratches and keeps the workspace clean throughout the project.
Should I protect nearby walls and decorations?
Take down artwork, mirrors, shelves, and decorative items close to the installation area. Protective coverings also help shield painted walls and finished surfaces from dust or accidental contact.
Can I stay at home during the carpentry installation?
Yes. Many homeowners remain at home during installation, although limiting movement around the work area improves safety and allows technicians to work without interruptions.
What should I do with children and pets?
Keep children and pets away from the installation zone until the team finishes the project. Separate rooms or temporary barriers help maintain a safer environment for everyone.
Will carpentry installation create dust?
Some installation work produces dust during cutting, drilling, and adjustments. Professional installers often use dust extraction equipment and protective coverings to keep the area as clean as possible.
Should I confirm electrical and plumbing points before installation?
Yes. Identify power outlets, plumbing lines, internet cables, and air-conditioning connections before installation begins. Early confirmation prevents unexpected modifications during the project.
How much space should I leave for the installation team?
Leave enough room for workers to carry panels, operate tools, and assemble furniture comfortably. Open access around the installation area speeds up the entire process.
What documents should I review before installation starts?
Check the approved design drawings, material specifications, hardware selections, measurements, installation schedule, and warranty details. Reviewing these documents helps ensure everyone follows the same plan.
How long does a typical carpentry installation take?
Small furniture installations often finish within a day, while custom wardrobes, kitchens, wall panels, or complete interior projects may require several days depending on their complexity.
What should I inspect before accepting the completed project?
Test every drawer, door, shelf, hinge, and sliding mechanism. Examine panel alignment, surface finishes, edge details, and hardware to confirm the installation meets the agreed specifications.
Will the installation team clean the work area afterward?
Many professional carpentry companies remove packaging, collect construction waste, and tidy the workspace before handover. Confirm cleaning services with your contractor before the installation date.
What is the best way to ensure a smooth carpentry installation in Dubai?
Prepare the room in advance, communicate clearly with the installation team, verify measurements, confirm material selections, and inspect the finished work before signing off. Careful planning leads to faster installation and better long-term results.
Related Articles
- How to Measure Your Space for Built-In Wardrobes (The Right Way)
- Engineered vs Solid Wood Flooring in UAE: The Climate Verdict After 35 Years
- A Homeowner’s Guide to Reading Carpentry Quotes in Dubai
- Teak Wood Outdoor UAE: Why 35 Years of Projects Keep Pointing to the Same Timber