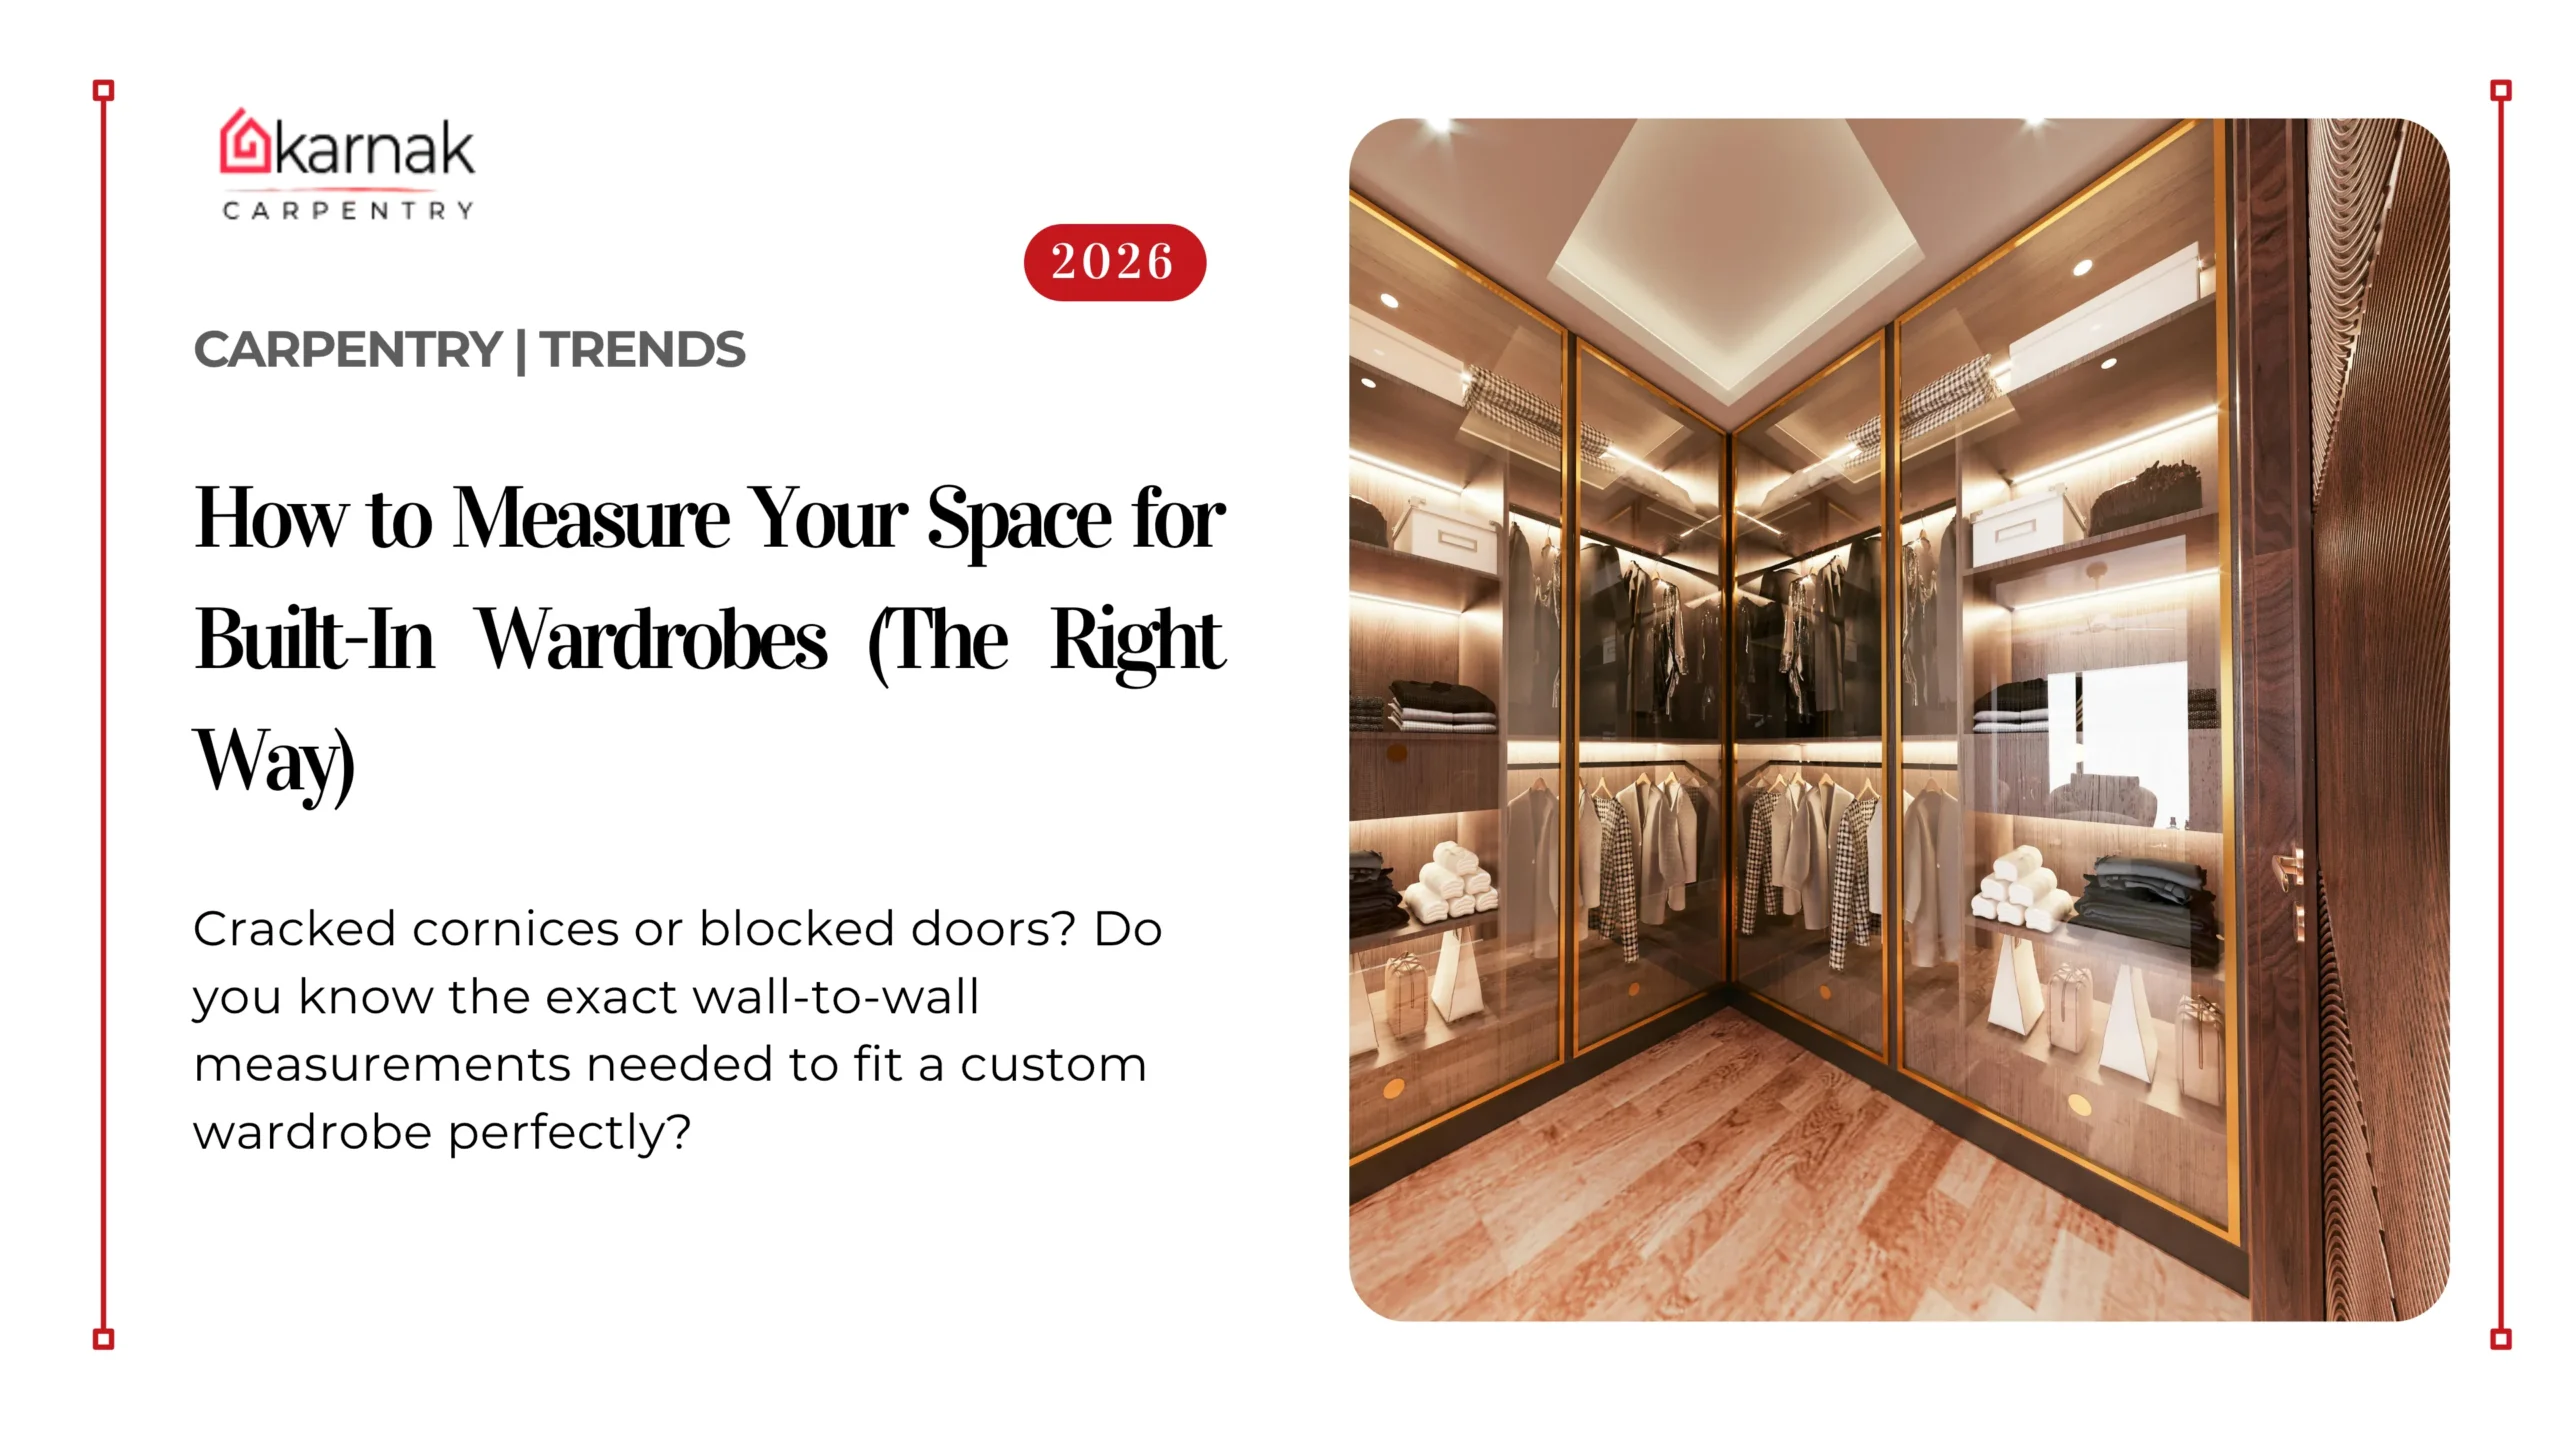
In 35 years of fitting custom wardrobes across the UAE, we have seen one mistake cause more problems than any other. Not the wrong material choice. Not the wrong door style. The wrong measurements. We are talking about people picking up a tape measure, jotting down a few numbers on their phone, and calling a carpentry company thinking the hard part is done. It is not. Measure space for built-in wardrobes is a process that takes time, attention, and a clear understanding of what those numbers actually mean once construction begins. Get it right and your wardrobe fits like it grew there.
Get it wrong and you are looking at gaps, doors that scrape the floor, or a beautiful cabinet that cannot actually open in your room. Accurate measurements prevent costly mistakes and ensure a perfect fit. Many homeowners also draw global design ideas from publications like Condé Nast Traveler while planning custom storage solutions tailored to UAE living.
At Karnak Carpentry, we have completed over 10,000 projects across Dubai, Abu Dhabi, and Sharjah since 1988. A significant portion of those projects were rescues: clients who came to us after another contractor built something that simply did not work. In almost every case, the root cause was measurement errors made before a single piece of wood was cut. This guide shares everything we teach our own team so that you can walk into a consultation, or tackle your own project, knowing exactly what good measurement looks like.
Whether you live in a compact JBR apartment, a four-bedroom villa in Arabian Ranches, or a townhouse in Jumeirah Village Circle, the principles in this guide apply directly to your space.
Why Measuring for Built-In Wardrobes Is More Complex Than It Looks
Most people think measuring a room means width times height. That gets you started, but it gets you nowhere near finished.
A built-in wardrobe interacts with your room in ways that a freestanding piece of furniture never does. It connects to walls, floors, and ceilings that are almost never perfectly flat, perfectly square, or perfectly level in any property across the UAE. Even brand-new handover properties in Dubai frequently have wall deviations of 10 to 25 millimetres across a standard room width. Older villas in Jumeirah or Mirdif can show deviations of 40 millimetres or more. If your wardrobe is built to a single measurement, it will not fit flush against those walls, and the visual result looks exactly as bad as it sounds.
There is also the question of what is inside your walls. Electrical conduits, AC ducts, and plumbing runs are often positioned in ways that conflict with where homeowners want wardrobes placed. In many Dubai apartment buildings, AC fan coil units sit in ceiling cavities directly above bedroom wall sections. Building into that zone without knowing it is there creates serious problems. We have seen contractors from outside the UAE try to wall-mount wardrobe backing boards straight through electrical chases. The results are dangerous, not just ugly.
Understanding these realities is the first step in measuring correctly. The second step is developing a system.
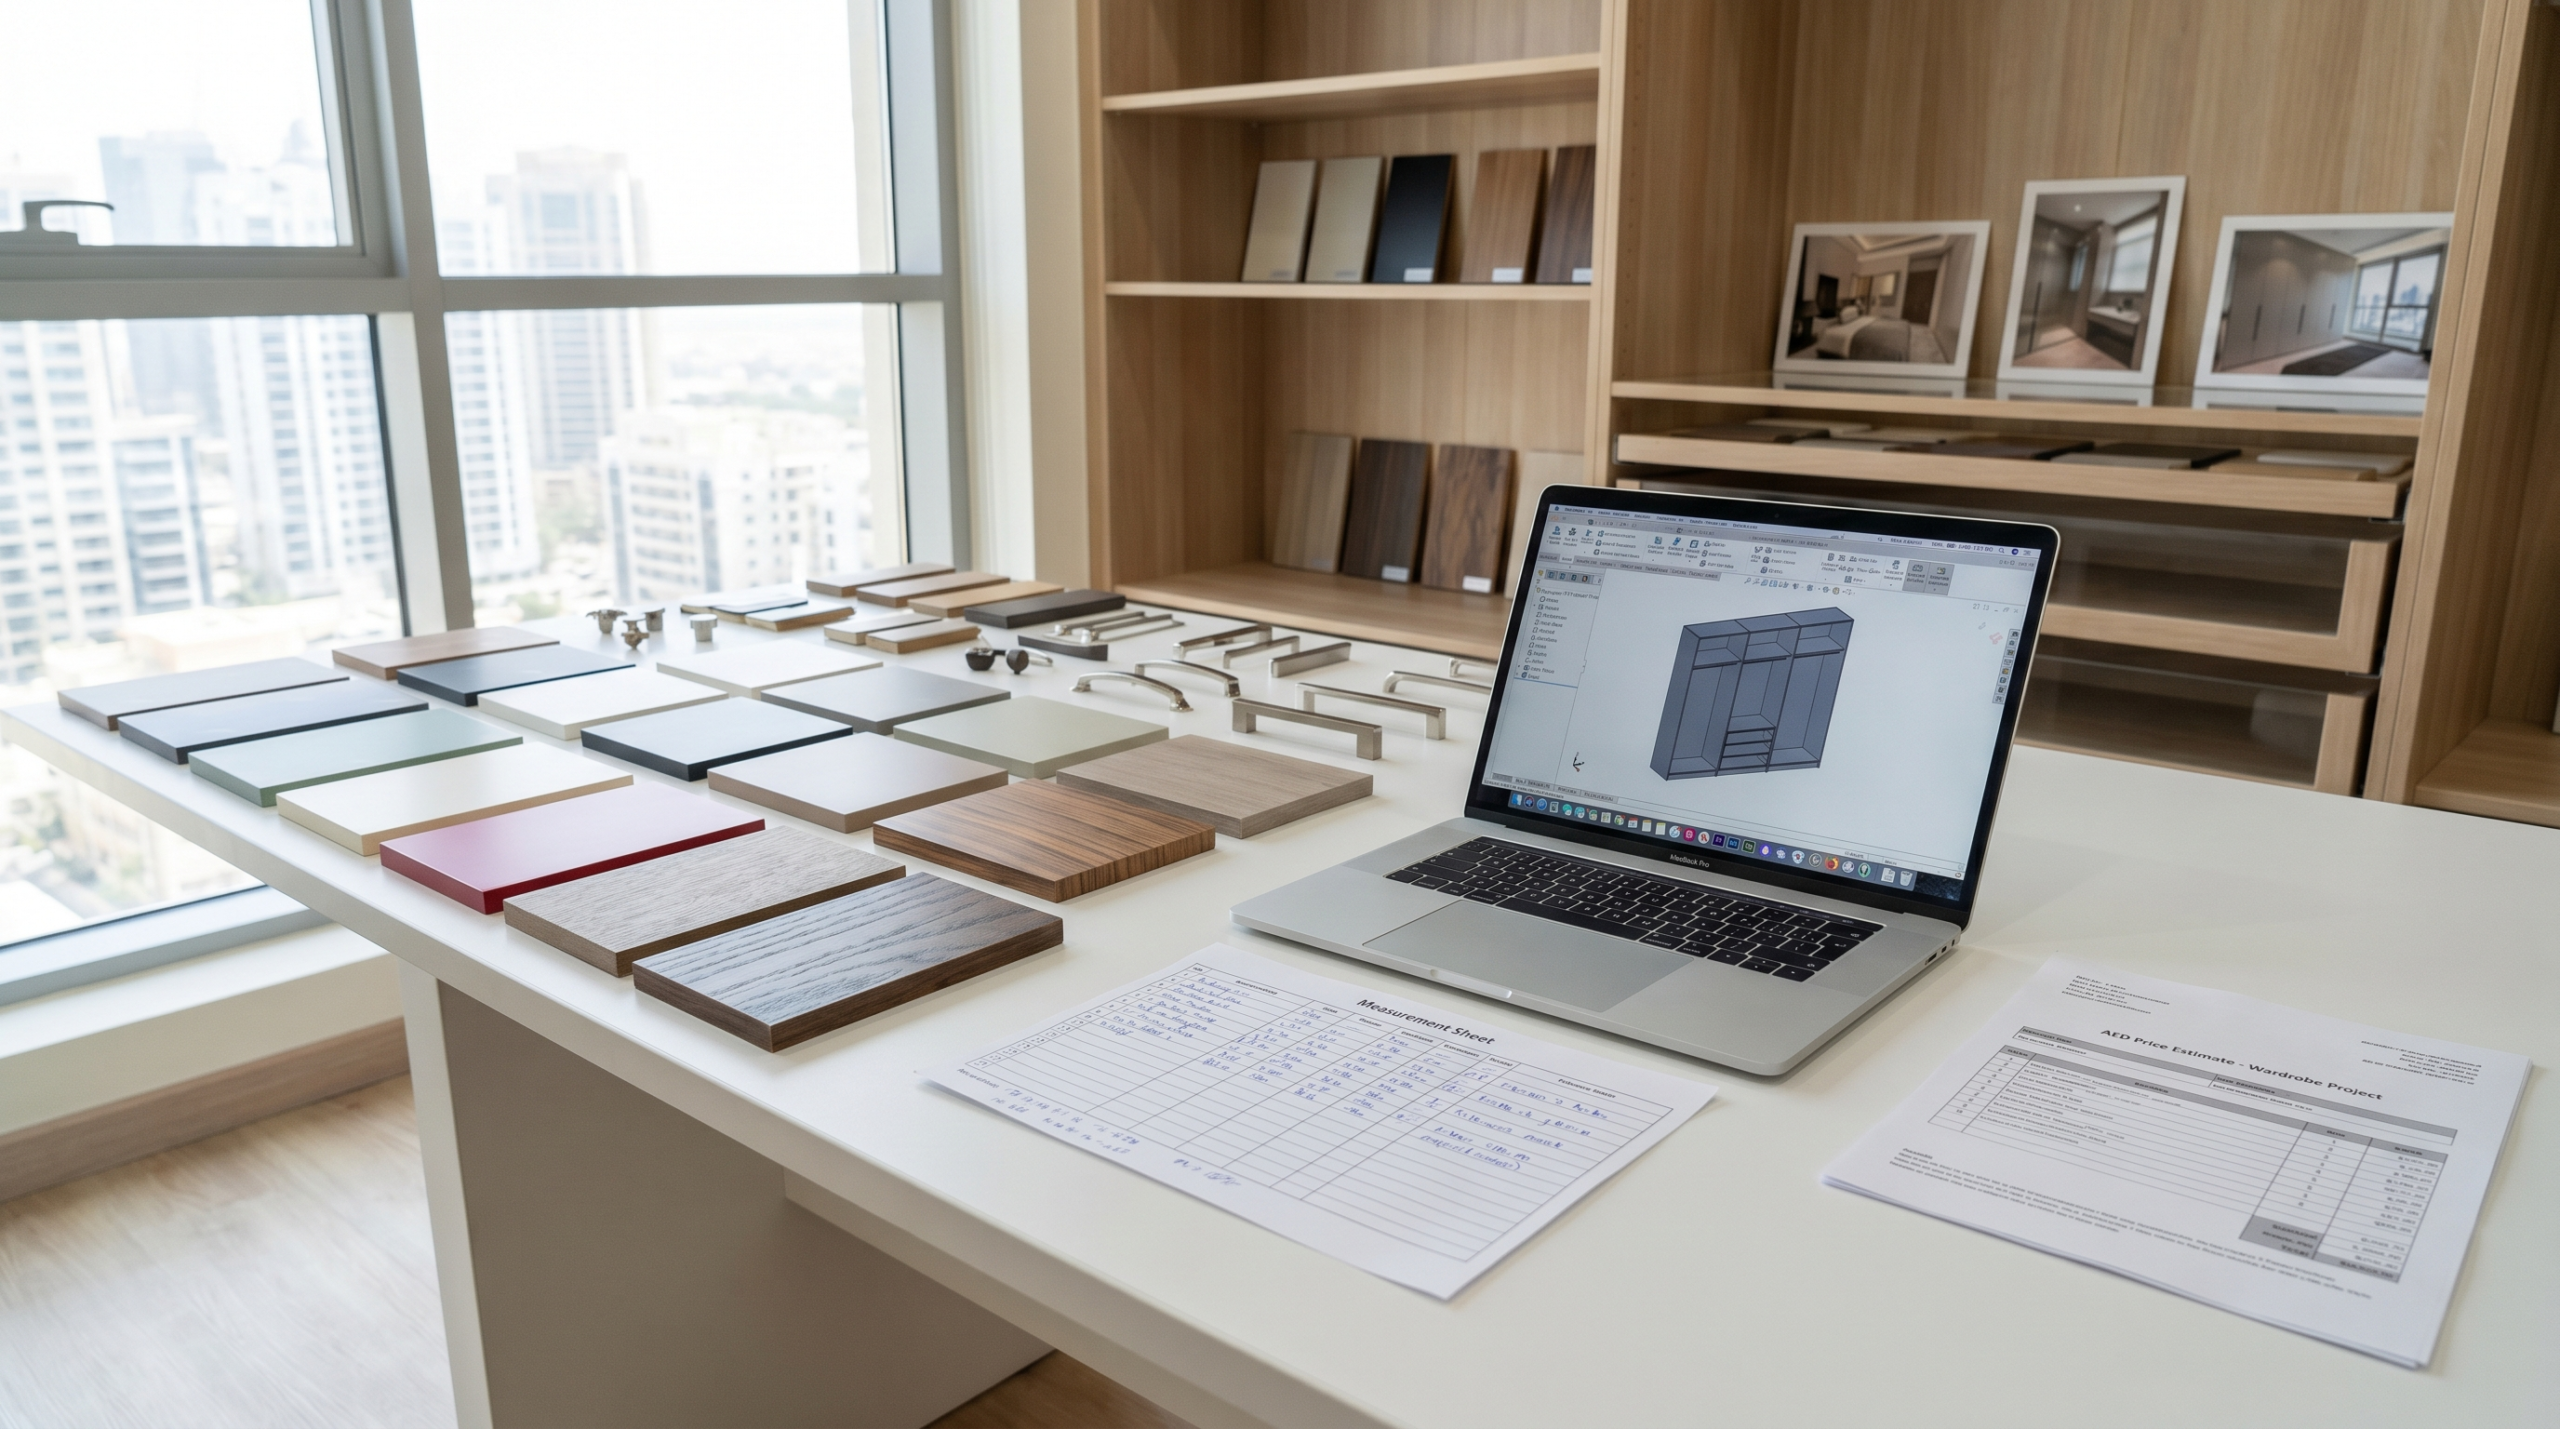
The Tools You Actually Need
You do not need expensive equipment to measure a space for built-in wardrobes. You need the right basic tools used correctly.
A quality steel tape measure, minimum five metres, is essential. Avoid fabric or retractable plastic tapes for this work as they flex and give inconsistent readings. A digital laser distance measurer is worth the investment if you are doing this yourself. Units from brands like Bosch or Leica are available from ACE Hardware or Toolstation in Dubai for between AED 150 and AED 450, and they eliminate parallax errors that steel tapes introduce over longer distances.
You also need a spirit level of at least 600mm length, a pencil for marking directly on walls, graph paper or a free room planning app, a notepad for recording every measurement twice, and a torch or headlamp for checking recessed areas and ceiling corners. A small wooden wedge or playing card is useful for testing floor level along a wall run.
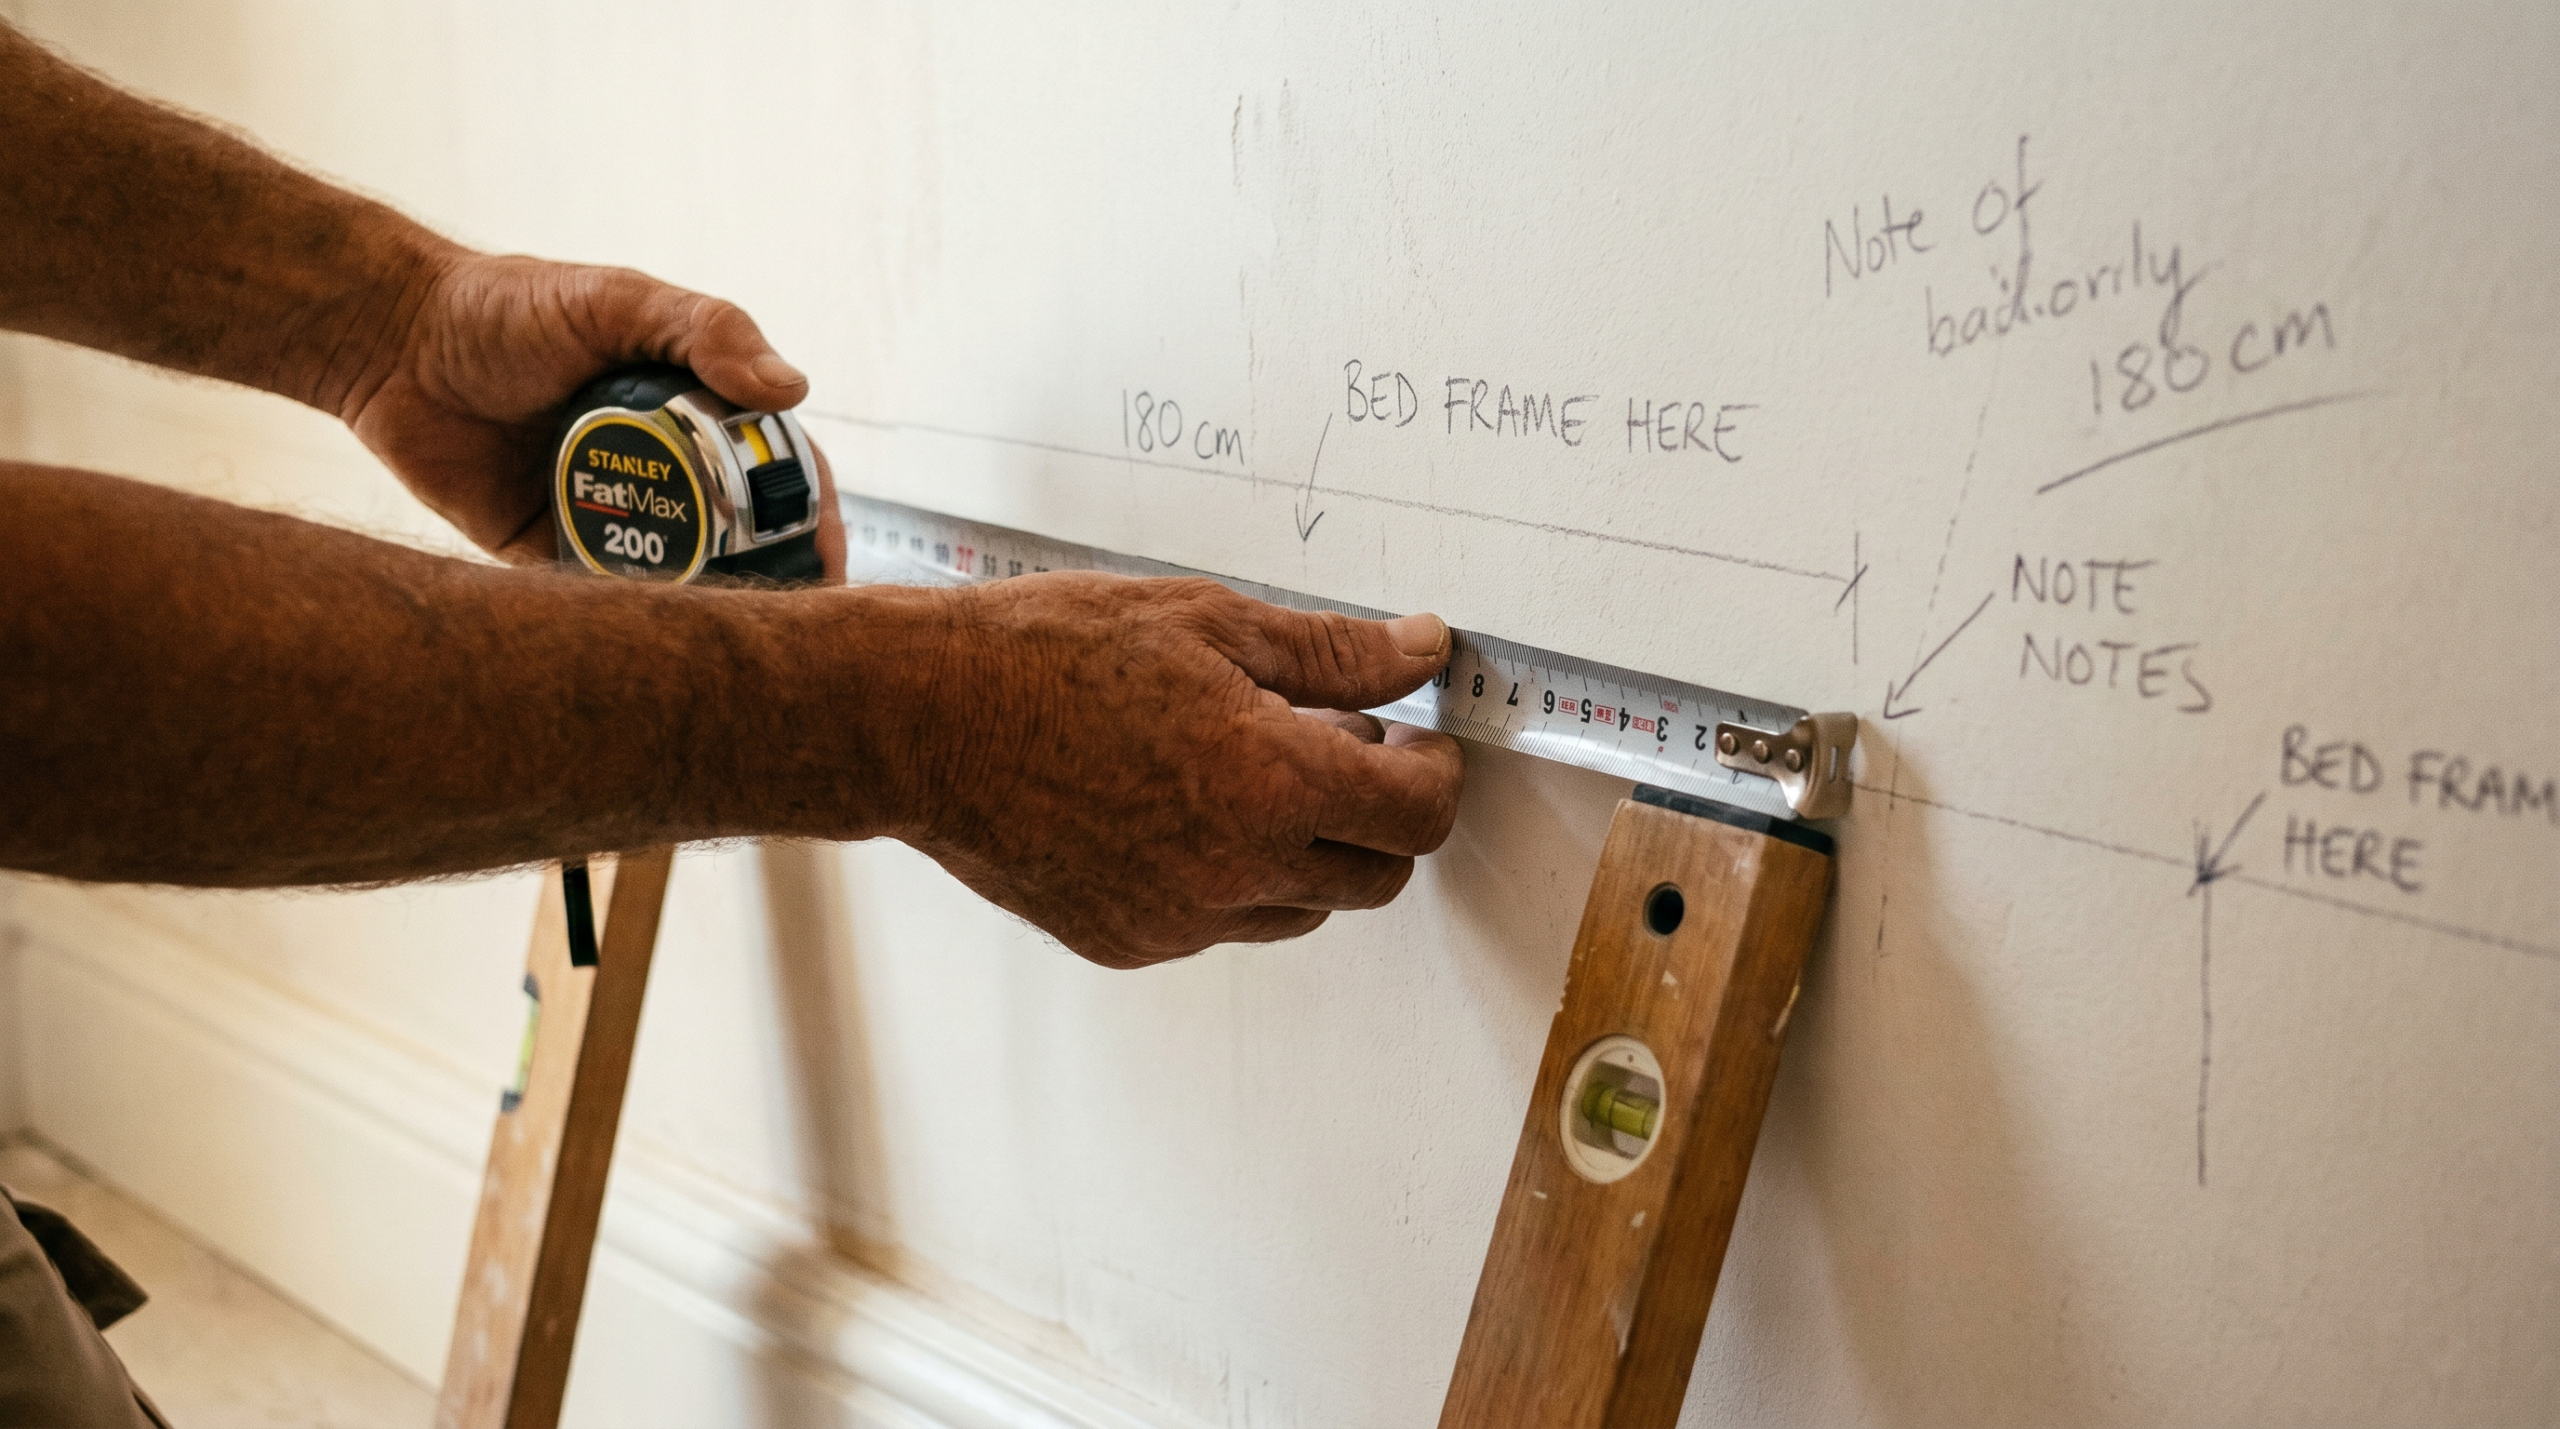
Write every measurement down as you take it. Do not rely on memory. Take each measurement twice from two different reference points, and if the numbers differ by more than 5mm, take a third measurement and investigate why.
Understanding How UAE Properties Are Built
This matters more than most guides will tell you. Properties in the UAE are predominantly built using block and plaster or concrete frame construction. The finish plaster applied to walls is rarely perfectly consistent in depth. It is common to find that a wall measuring 3,000mm at floor level measures 2,985mm at ceiling height, simply because the plasterers feathered the top coat differently.
Floor screeds in UAE properties also vary. In a standard Dubai apartment, the floor screed can vary by 8 to 15mm across a room, meaning a wardrobe that sits level on one side may rock or leave a visible gap on the other. This is not a defect in most cases. It is simply a characteristic of the construction method, and good built-in wardrobe measurement accounts for it.
In older Jumeirah villas or properties in Deira that date back to the 1980s and 1990s, you may also encounter walls that are not straight in plan. They bow outward slightly in the middle, or lean at the top by measurable amounts. When you are fitting a wardrobe that runs six metres across a wall, a bow of even 15mm in the middle means that a flat-front wardrobe will look like it floats away from the wall on each side if you size it to the widest point, or will fight the wall if you size it to the narrowest.
Knowing your building’s construction era and type helps you predict what surprises your measurements might reveal.
The Step-by-Step Measurement Process
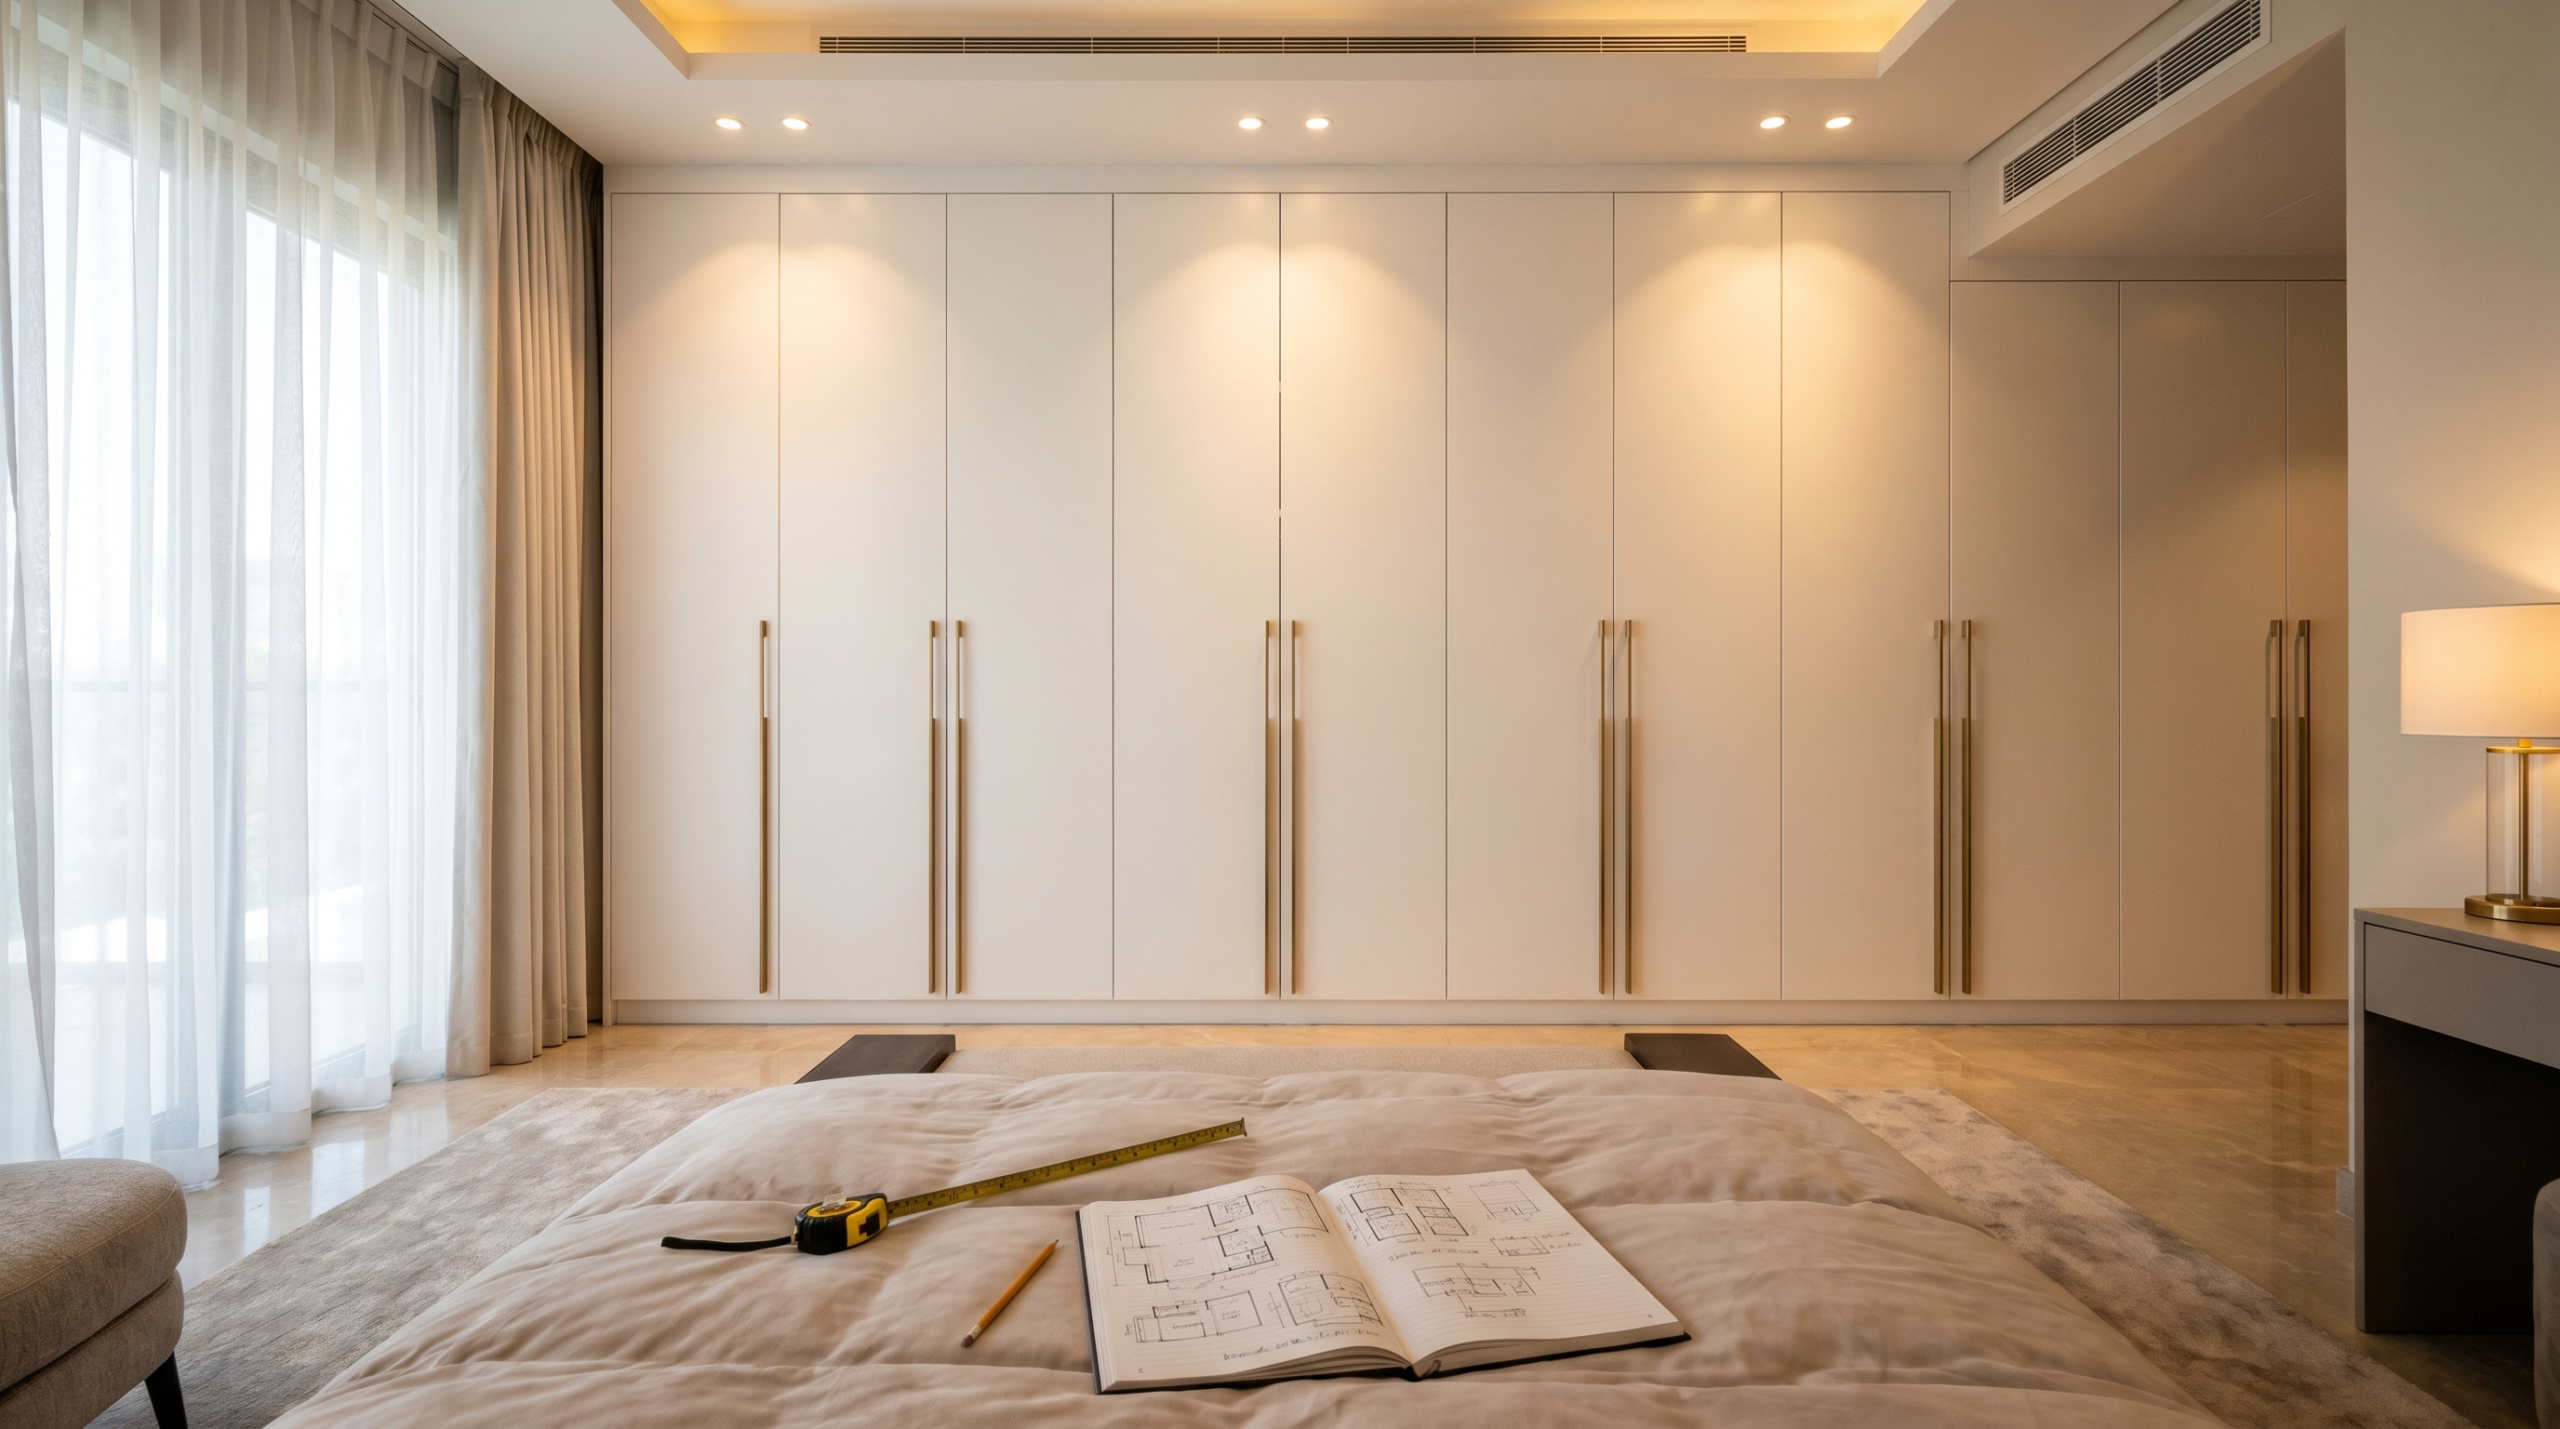
Take your time with this. A thorough measurement session for a standard bedroom wardrobe should take 30 to 45 minutes. For larger projects covering multiple walls or L-shaped layouts, allow 60 to 90 minutes. Rushing this stage costs money at every stage that follows.
Step 1: Measure the Width Across the Wall
Start at floor level and measure the full width of the wall where the wardrobe will sit. Record this number. Now measure the same width at approximately 1,200mm from the floor (roughly mid-height). Record this number. Finally, measure at ceiling height or at the top of where the wardrobe will reach. Record this number.
If all three measurements are within 5mm of each other, you have a reasonably straight wall. If the variation exceeds 10mm, note the exact dimensions at each height and flag this for your carpenter or for your own planning. The wardrobe will be sized to the narrowest point, with scribing or infill panels used to close any gaps at wider points.
In alcove installations, which are common in older Dubai apartments and villas where bedrooms have recessed wall sections, repeat this process for both side walls of the alcove and note whether they are parallel or splayed. A splayed alcove will require tapered side panels on the wardrobe unit.
Step 2: Measure the Floor-to-Ceiling Height
Measure the ceiling height at four points: each end of the proposed wardrobe run, the centre, and at one mid-point on each half. For a standard floor-to-ceiling wardrobe in a Dubai apartment, you are typically working with 2,700mm to 2,800mm. Villas in Emirates Hills or Palm Jumeirah often have 3,000mm or even 3,200mm ceilings, which significantly affects design options and cost.
Note whether there is coving, cornicing, or a ceiling border. These architectural features reduce the usable height at the wall junction. Measure from the floor to the underside of any coving or ceiling feature, not to the ceiling itself. If you are planning to build to full ceiling height with the wardrobe integrated above the cornice line, you will need a specialist scribing solution. This is something we handle regularly in high-end villa projects in Mirdif and Umm Suqeim.
Also check for ceiling drops. Many UAE apartments have false ceilings with gypsum bulkheads that project downward at wall junctions. These are often where AC ducting runs, and they can reduce available height at the back of a wardrobe position by 200 to 400mm. Measure the height both at the wall and 600mm out from the wall (the standard wardrobe depth) to confirm the full cabinet height is clear.
Step 3: Check the Floor Level
Place your spirit level on the floor along the wall where the wardrobe base will sit. Check at intervals of roughly 600mm across the full width. Mark any low or high points. If the floor drops more than 10mm across the run, your wardrobe plinth (the base panel) will need to be scribed or shimmed to maintain a level top surface.
In most UAE properties, floor tiles or marble extend beneath where wardrobes will be installed. This means the floor surface is already finished but may be slightly uneven due to tile variation or lippage. It is worth checking this carefully, because the plinth height determines whether wardrobe doors clear the floor without scraping, and whether the overall height of the unit works with your available ceiling clearance.
Standard plinth height in UAE built-in wardrobes is typically 100mm to 150mm. In properties with significant floor variation, we sometimes go to 175mm or even 200mm to give enough scribing allowance.
Step 4: Identify and Measure All Obstructions
This is the step most homeowners skip, and it causes the most problems.
Walk along the wall and identify every obstruction, starting from floor level upward. Skirting boards in UAE properties are typically 80mm to 120mm in height. Your wardrobe base will need to either sit in front of the skirting (creating a gap at the back at floor level), or the skirting will need to be removed and cut back under the wardrobe. Note the skirting projection from the wall, typically 10 to 20mm, as this affects how flush your wardrobe face can sit.
Check for electrical sockets and light switches along the wall. Ideally, wardrobes are positioned clear of these, but in practice, bedroom layouts in UAE apartments often leave no choice. Sockets can be relocated inside a wardrobe interior (useful for charging points) or repositioned to an adjacent wall by an electrician. Note the position of every socket, its height from the floor, and its distance from each side wall.
Look up. Check for light fittings, especially recessed downlights positioned close to the wall. In many Dubai apartment bedrooms, downlights sit 300 to 500mm from the wall, which can be directly above a full-depth wardrobe position. The light fitting will need to be relocated or the wardrobe depth reduced. Note the position of all ceiling lights.
Check for air conditioning vents or grilles along the wall or in the ceiling above. AC vents cannot simply be blocked by a wardrobe. Verify whether the vent is supply or return, and factor in that you will need either to relocate it or to design around it with ventilation gaps built into the wardrobe structure.
Step 5: Check for Square Corners
A room that looks square rarely is. Place a steel tape diagonally from one corner of the wardrobe area to the opposite corner. Then measure the other diagonal. If both diagonals are equal, the room is square in that area. A difference of more than 10mm means the walls are out of square, and your wardrobe will need to be designed with angled scribing panels on one or both sides.
For alcove wardrobes, this matters especially with sliding door systems. A sliding door track requires precise alignment. If the opening is not square, the doors will either bind or leave uneven gaps at one corner. Catching this in the measurement stage means the carpenter can cut the track on a slight angle at installation. Missing it means the doors never track correctly.
Measuring for Different Wardrobe Types
The same space can accommodate very different wardrobe configurations depending on the door type. Door type affects how you measure, what clearances you need, and what the usable interior looks like.
Hinged Door Wardrobes
Hinged doors require door swing clearance in front of the wardrobe. A standard 600mm wide door panel needs 600mm of clear floor space in front of it to open fully. In compact Dubai apartment bedrooms where floor space is already tight, this is a critical constraint. Measure from the wardrobe face to the opposite wall, to the end of the bed, or to any other furniture that might obstruct door opening. If clear space is less than 550mm, hinged doors become problematic.
Hinged doors also carry weight on hinges, and in UAE humidity conditions, cabinet materials expand and contract slightly with seasonal temperature shifts between summer air conditioning and the exterior climate. Plan for this by allowing a minimum 2mm gap between hinged door panels, and a 3mm gap at the top and bottom of each door. These tolerances are not visible in the finished result, but they prevent doors from sticking during August and September when indoor humidity can spike even in air-conditioned homes.
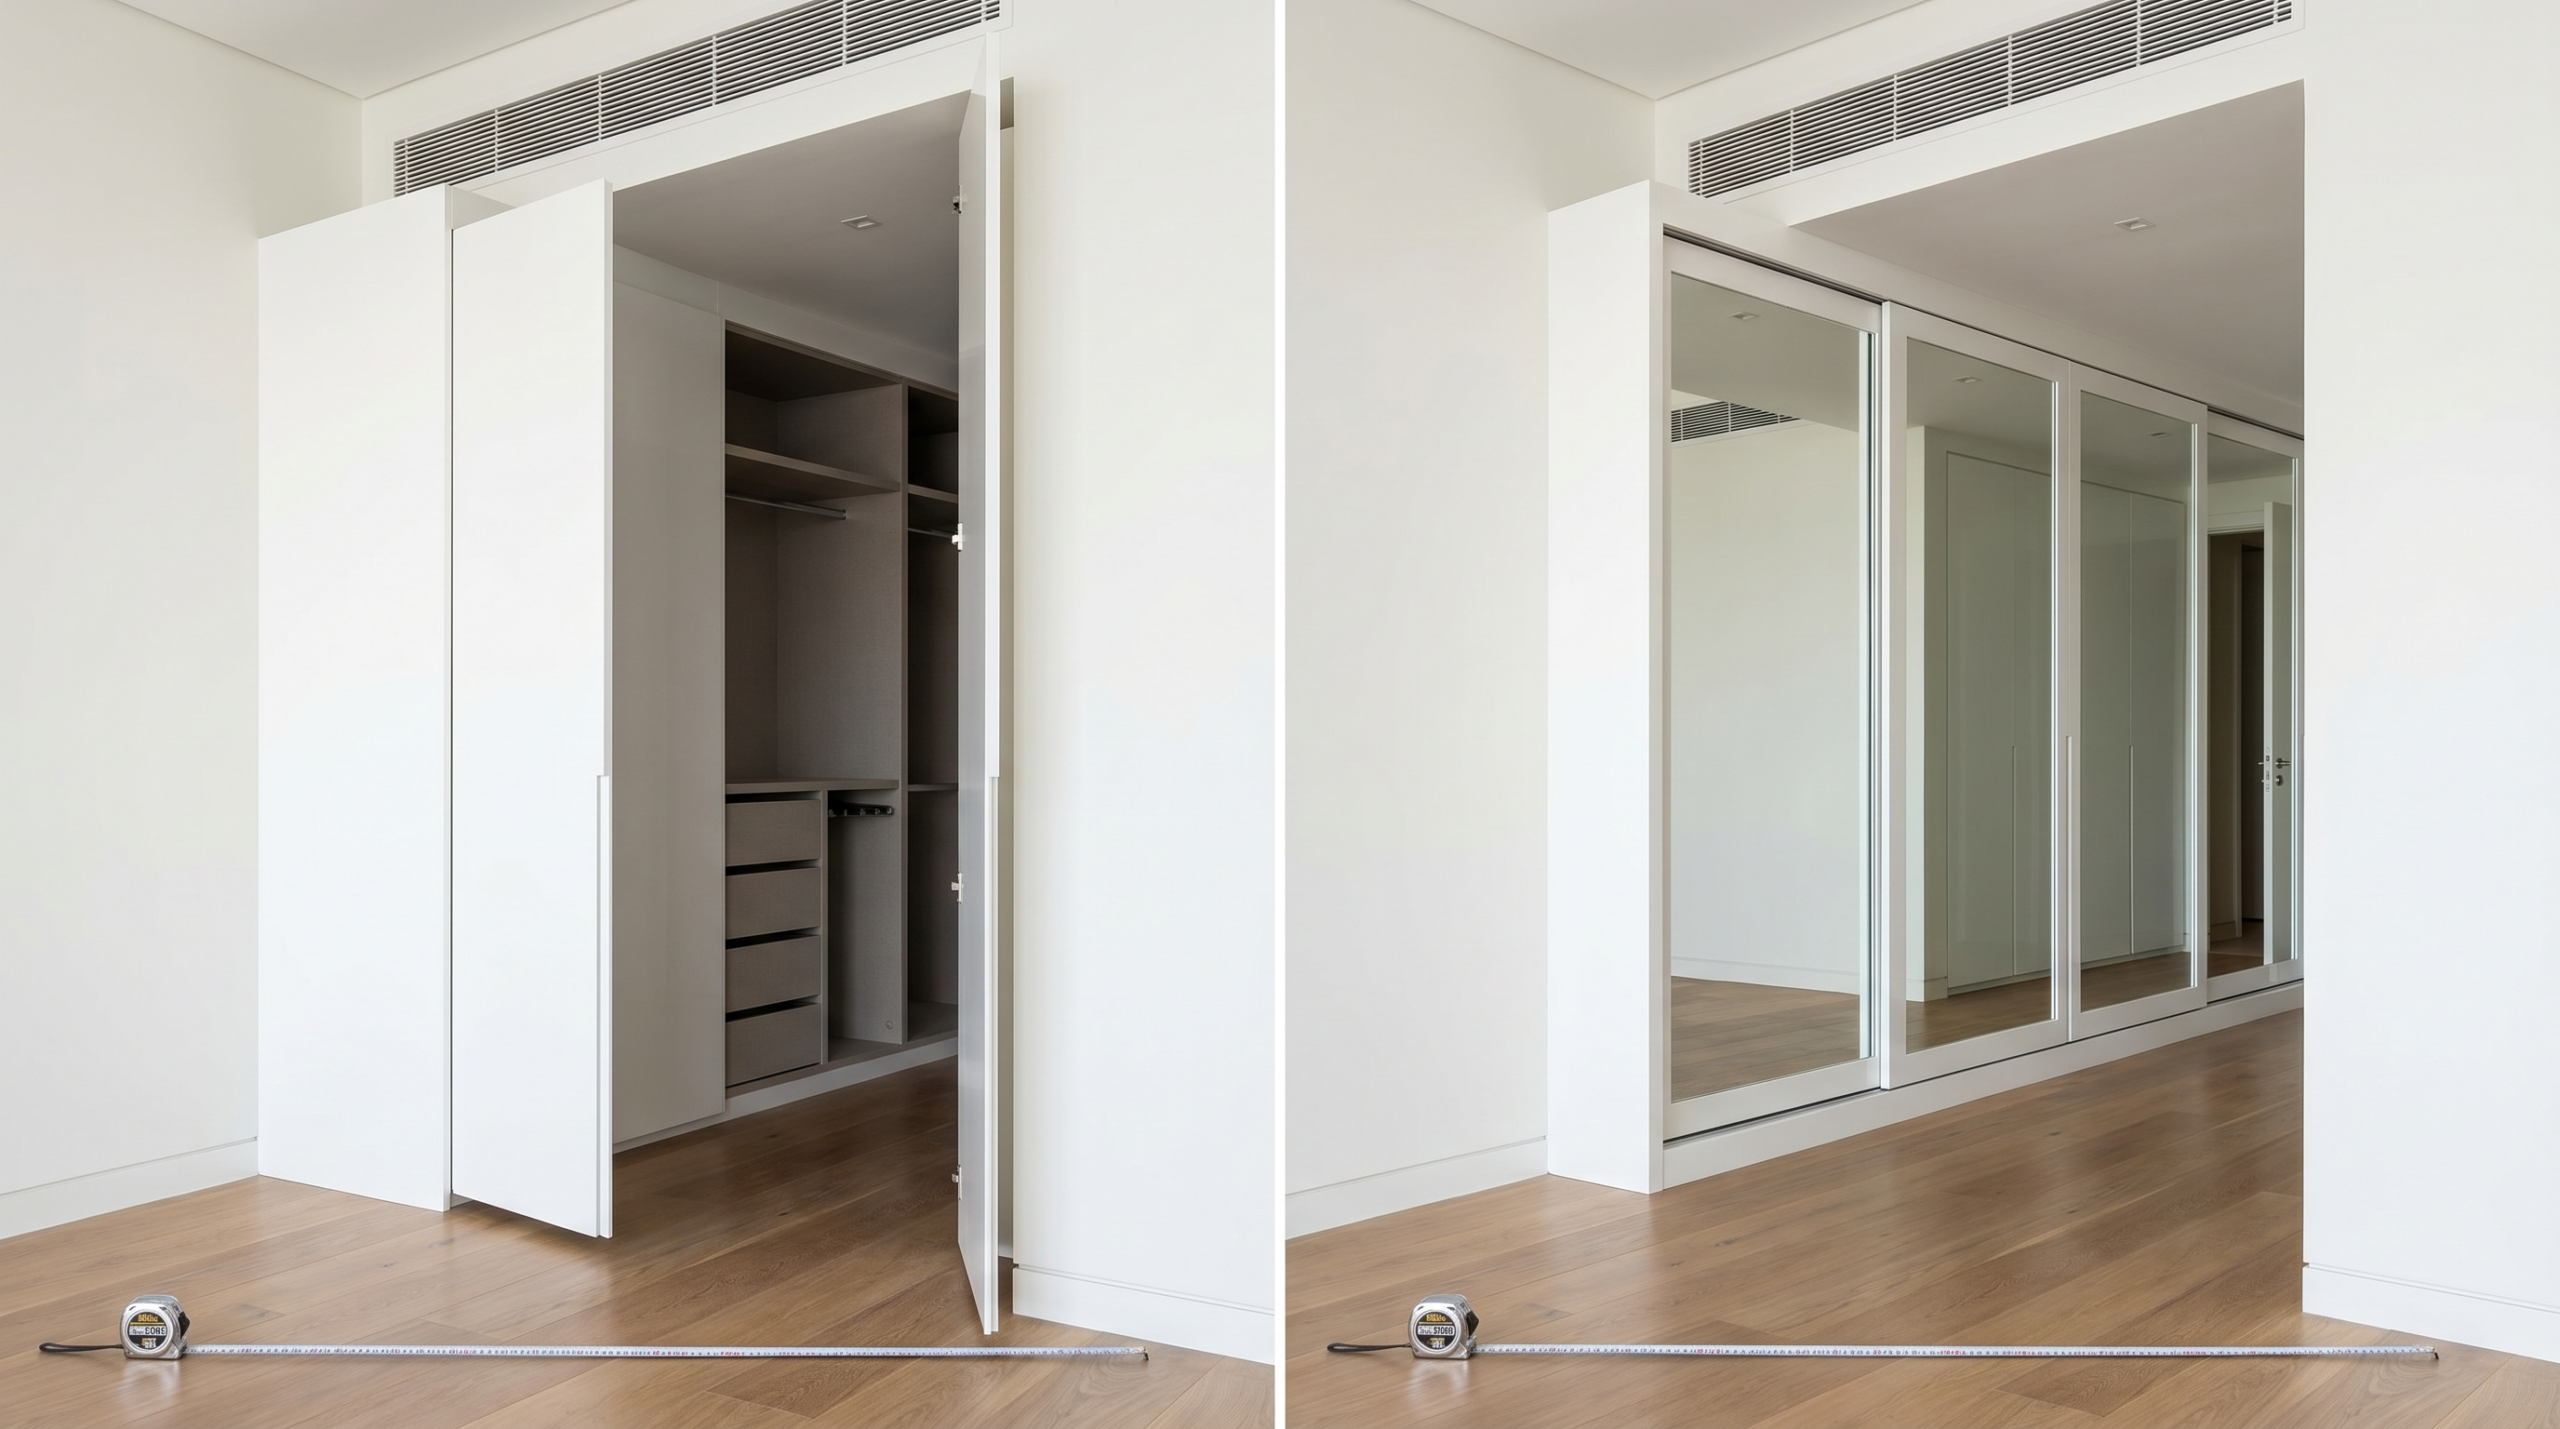
Sliding Door Wardrobes
Sliding doors are the most popular choice for UAE bedrooms because they do not require swing clearance. However, they have their own measurement requirements.
The standard sliding door system requires a top track and bottom track spanning the full width of the wardrobe opening. Measure the exact width of the opening at the top track position (typically the underside of the cabinet cornice) and at the bottom. If these measurements differ by more than 5mm, the track will need to be adjusted or the opening framed to be parallel before installation.
Sliding doors in a two-panel system each cover approximately 50 percent of the wardrobe opening at any time. If you have a run of three equal sections, you will not be able to fully open all three sections simultaneously. For wardrobe planning purposes, note which sections you will access most frequently and position the door overlap points away from those areas.
Standard sliding door panel widths in UAE installations range from 600mm to 1,000mm. Track systems from brands stocked in UAE hardware suppliers such as Hettich or Hafele support specific maximum panel weights, typically 25kg to 80kg per panel. Mirror panels and heavy lacquered glass panels are heavier, and the track system must be specified accordingly during design.
Corner Wardrobes and L-Shaped Configurations
Corner wardrobes require additional measurements that most guides skip entirely.
For an L-shaped wardrobe meeting at a corner, you need to measure both wall sections independently, note the exact position of the internal corner, and calculate the corner column dimension. This is the depth of the cabinet on each wall, measured from the internal corner point. A standard 600mm deep wardrobe on each wall creates a corner column of 600mm x 600mm. You need to confirm that this column does not block a door swing or window.
Measure the diagonal clearance from the corner wardrobe face to the nearest bedroom door frame. In compact rooms in JBR or Downtown Dubai apartments, this diagonal clearance is often the limiting factor on what configuration is actually feasible.
Common Measurement Mistakes We See in UAE Projects
After 35 years and thousands of installations, these are the errors that come up repeatedly.
Mistake 1: Measuring Only Once
The single most common mistake. One measurement at floor level, assume it applies everywhere. In UAE construction, walls are almost never consistent from floor to ceiling. We have arrived at jobs where a homeowner’s measurement said 3,200mm wide and our on-site check found 3,155mm at ceiling height. That 45mm difference requires a scribing panel that was not budgeted, or it means a cabinet section must be resized on the factory floor at significant cost.
Always measure width at three heights. Always measure height at multiple points across the run. Verify with diagonals. Measure twice, record everything.
Mistake 2: Forgetting Door Clearance Zones
Bedrooms in UAE apartment buildings often have doors positioned close to where homeowners want wardrobes. A bedroom door that swings into the room creates a clearance arc that cannot be obstructed. Measure from the door hinge to the door handle when the door is fully open, and mark that arc on the floor. Any wardrobe that extends into that arc will prevent the door from opening fully. We have seen this mistake made by homeowners, by interior designers, and by some carpentry contractors. It is entirely avoidable.
Mistake 3: Ignoring the AC Unit Location
In UAE apartments and villas, split AC units or fan coil units are often positioned on or near bedroom walls. The unit itself and its associated pipework, condensate drain, and electrical supply all occupy space. Building a wardrobe around an AC unit without accounting for service access is something we frequently encounter when called in to repair or modify existing wardrobes. Maintenance engineers need access to AC units periodically. If your wardrobe traps the unit, either the wardrobe gets damaged or the AC does not get serviced.
Measure the AC unit dimensions and its distance from the wall surface. Confirm where the pipework runs up or across the wall. Design the wardrobe to either end clear of the unit, or incorporate a removable panel directly in front of the unit’s service points.
Mistake 4: Assuming Walls Are Vertical
In UAE construction, walls are frequently slightly out of plumb. Hold a spirit level vertically against the wall at the wardrobe end positions. A wall that leans 10mm over its height will create a visible wedge-shaped gap between the wardrobe side panel and the wall unless the panel is scribed to match. This scribing process takes extra time and adds to cost, so it must be identified at the measurement stage, not discovered during installation.
Mistake 5: Not Measuring the Access Route
This sounds basic but it catches people out consistently. A wardrobe unit built in a workshop needs to reach your bedroom. Measure every doorway, corridor width, and staircase landing between the building entrance and your bedroom. Standard corridor widths in UAE apartment buildings can be as narrow as 900mm. A wardrobe cabinet 950mm wide cannot physically reach your room as a single piece.
Good carpentry contractors build wardrobes in sections specifically to manage this. Confirm with your carpenter that they understand your access route, and measure it yourself so you can have an informed conversation. Measure the width and height of every door frame between the street and the installation location.
Mistake 6: Overlooking Beam and Column Positions
Structural elements in UAE properties, beams running across ceilings, columns at room edges, and upstand kerbs where floor levels change, can all compromise wardrobe installation if not mapped in the measurement phase. In Emirates Hills villas and similar properties with large open-plan master bedrooms, ceiling beams are sometimes a decorative architectural feature sitting 200 to 300mm below the main ceiling. A planned floor-to-ceiling wardrobe suddenly becomes a reduced-height wardrobe if the beam position is not recorded and designed around.
What Your Measurements Mean for Cost
Accurate measurement does not just affect whether the wardrobe fits. It directly affects what you will pay.
In our experience, projects where clients come in with accurate, complete measurements can be quoted and confirmed in a single meeting. Projects where measurements are incomplete or inaccurate typically require at least one additional site visit, add a minimum of three to seven days to the project timeline, and frequently result in change orders that add 8 to 15 percent to the original quoted cost.
Here is how measurement accuracy directly connects to specific costs.
Standard built-in wardrobe
Its pricing in the UAE in 2026 ranges broadly from AED 1,200 per linear meter for basic melamine finish units to AED 4,500 per linear meter for lacquered MDF with premium hardware and interior fittings. A three-meter wide floor-to-ceiling wardrobe therefore sits in a cost range of roughly AED 3,600 to AED 13,500 depending on specification.
Scribing panels to close wall irregularities
They add AED 200 to AED 500 per panel depending on the complexity of the cut. An inaccurately measured project might require three or four unplanned scribing panels. That is AED 600 to AED 2,000 in additions that would not appear in a quote based on good measurements.
Socket relocation work
Which is carried out by a UAE-licensed electrician during wardrobe installation typically costs AED 300 to AED 600 per socket. If this is not anticipated in the measurement stage, it appears as an urgent last-minute cost on installation day.
Corner wardrobe configurations
It require accurate diagonal measurements to confirm whether the corner can be achieved square or must be cut at a 45-degree miter. A miter-cut internal corner adds complexity and time, approximately AED 800 to AED 1,400 per corner. Discovering this during installation rather than at the quotation stage means paying premium rates for unplanned work.
The investment of 45 minutes in thorough measurement is among the highest-return activities in any wardrobe project.
Expert Tips from 35 Years of UAE Wardrobe Installations
These are the things we tell every client who wants to understand the process properly.
Tip 1: Photograph everything before you start
Take wide-angle photos of each wall, close-ups of sockets, AC units, and ceiling features. Reference photos catch details that measurements alone can miss and give your carpenter visual context alongside the numbers.
Tip 2: Measure after any recent renovation work
New tiling, new plastering, or a recently installed false ceiling changes every measurement in that room. Always measure from the finished surface you will actually be installing against.
Tip 3: Check your building’s fit-out regulations
Many Dubai residential buildings managed by major developers have fit-out guidelines that specify what work requires NOC approval. Wardrobe installation that involves cutting into walls, relocating electrical points, or modifying AC ductwork may require approval. Check with your building management before proceeding.
Tip 4: Account for material thickness in your calculations
A wardrobe described as 600mm deep typically provides an interior depth of 560 to 580mm because the back panel and front frame consume the remaining 20 to 40mm.
If you need a specific minimum interior hanging depth for your clothing, measure back from the required interior dimension and add the material thickness to get the correct external footprint for your measurements.
Tip 5: Measure the wall behind where a television or artwork currently hangs
Removing wall-mounted items before measuring reveals whether brackets, rawl bolt anchors, or cable channels in the wall will conflict with wardrobe mounting points. Discovering a large bolt anchor behind your wardrobe position on installation day can delay an entire project.
Tip 6: For sliding door wardrobes, measure the floor-to-track distance carefully
The bottom track adds height between the floor and the wardrobe base panel. Standard bottom tracks project 8 to 15mm above the floor. If you have very low clearance between your floor level and the wardrobe opening height, confirm that the track system’s overall height fits within your available space before selecting your door hardware.
Tip 7: Record the exact position of every measurement point
Do not just write 3,145mm. Write 3,145mm measured at floor level, east wall to west wall, across the full bedroom width. Your notes will remain unambiguous six months later when the factory fabricates your project.
Tip 8: Ask for a professional site survey if you are unsure
At Karnak Carpentry, our site survey process typically takes 45 to 60 minutes and produces a complete dimensional drawing of the space. This drawing then forms the basis of every measurement used in fabrication. It eliminates ambiguity entirely.
Conclusion: Good Measurements Are the Foundation of Every Good Wardrobe
Everything we build at Karnak Carpentry starts with accurate measurements. Not approximate measurements. Additionally, not single measurements. Moreover, not measurements taken once on a Saturday morning with whatever tape was in the kitchen drawer. Proper, systematic, verified measurements that capture every dimension, every obstruction, every deviation in the space.
A built-in wardrobe is a permanent addition to your home. It will live in that room for decades. The cost of measuring it properly is 45 minutes of careful work, a decent tape measure, and the discipline to record everything twice. The cost of measuring it poorly can run to thousands of dirhams in remediation, weeks of delay, and a finished result that never quite looks right. We have seen both outcomes, many times, across 35 years and over 10,000 projects in the UAE.
Key Takeaways:
- Always measure width at three heights (floor, mid, ceiling) and verify with diagonal checks.
- Check for hidden obstructions: electrical sockets, AC units, structural columns, and ceiling features.
- Different door types require different clearance measurements; establish your door type before finalizing dimensions.
- Because UAE construction often features wall deviations of 10 to 40mm, builders must measure and accommodate these variations.
- Accurate measurement directly reduces project cost by eliminating unplanned scribing panels, change orders, and installation delays.
Need Expert Help?
Karnak Carpentry has been measuring and building custom wardrobes across the UAE since 1988. Our experienced project team conducts full professional site surveys as part of every project, producing accurate dimensional drawings that eliminate guesswork at every stage of fabrication and installation. If you are planning a built-in wardrobe in Dubai, Abu Dhabi, or Sharjah and want to know exactly what is possible in your space, we would be glad to visit, measure, and talk you through the options. No obligation.
Contact:WhatsApp Usor Call Us at+971-52-5554207 | info@karnakcarpentry.com
Frequently Asked Questions About Measuring Space for Built-In Wardrobes
What measurements do I need before ordering a built-in wardrobe?
Measure the wall width, ceiling height, floor-to-ceiling distance, room depth, and available clearance around doors, windows, and electrical outlets. Accurate dimensions help designers create a wardrobe that fits perfectly.
How do professionals measure a wardrobe space?
Professional installers record the width at multiple points, check the ceiling height in several locations, inspect floor levels, and measure every corner before preparing production drawings. Multiple measurements reveal uneven walls and hidden construction variations.
Why should I measure the wall in more than one place?
Many walls vary slightly from top to bottom or from one end to the other. Measuring several locations helps identify uneven surfaces and allows the wardrobe to fit without unwanted gaps.
Should I measure from the floor or the skirting board?
Take measurements from the finished floor because it represents the actual installation surface. Skirting boards often require cutouts or design adjustments during wardrobe installation.
How much depth does a built-in wardrobe need?
Most wardrobes require a depth of 55 to 65 cm to accommodate standard clothes hangers comfortably. Larger wardrobes may need additional depth for drawers, shelving, or pull-out storage accessories.
Do I need to measure doors and windows near the wardrobe?
Yes. Record the location of nearby doors, windows, light switches, sockets, air-conditioning vents, and ceiling beams. These details help prevent installation conflicts and improve the overall layout.
Can uneven floors affect wardrobe installation?
Yes. Uneven flooring can create alignment issues if installers ignore floor levels during planning. Careful measurements allow technicians to level the wardrobe and achieve a clean, seamless finish.
Which tools help measure wardrobe spaces accurately?
Laser distance meters, steel measuring tapes, spirit levels, angle finders, and digital levels improve accuracy. Quality tools reduce errors and simplify the design process.
Should I leave extra space around a built-in wardrobe?
Allow enough clearance for wardrobe doors, drawer movement, lighting, and comfortable access. Proper spacing improves functionality without wasting valuable floor space.
What mistakes do homeowners make when measuring wardrobe spaces?
Many people record only one width measurement, overlook ceiling variations, ignore electrical points, or forget skirting boards and cornices. Careful planning eliminates these common mistakes before production begins.
Can I measure my wardrobe space myself?
Yes. Homeowners can collect preliminary measurements for planning purposes. Final production should always rely on professional site measurements to ensure a precise installation.
How accurate do wardrobe measurements need to be?
Measure every dimension as accurately as possible because even small errors can affect door alignment, shelving, and the overall fit. Precision saves time during manufacturing and installation.
Why do installers inspect the room before manufacturing begins?
Site inspections identify structural obstacles, confirm measurements, and reveal installation challenges before production starts. Early planning reduces delays and improves installation quality.
How can I prepare my room before the measuring appointment?
Remove furniture near the installation wall, provide easy access to corners, and clear personal belongings from the measuring area. An open workspace allows technicians to record accurate dimensions quickly.
Why do accurate measurements matter for custom built-in wardrobes?
Precise measurements eliminate unnecessary gaps, improve storage efficiency, reduce installation adjustments, and create a seamless floor-to-ceiling appearance. A well-measured space also ensures every cabinet, shelf, and door fits exactly as planned.